Table of Contents
Nuxt.jsとGrashQLとRuby on RailsでToDoアプリを作るためのチュートリアルです。
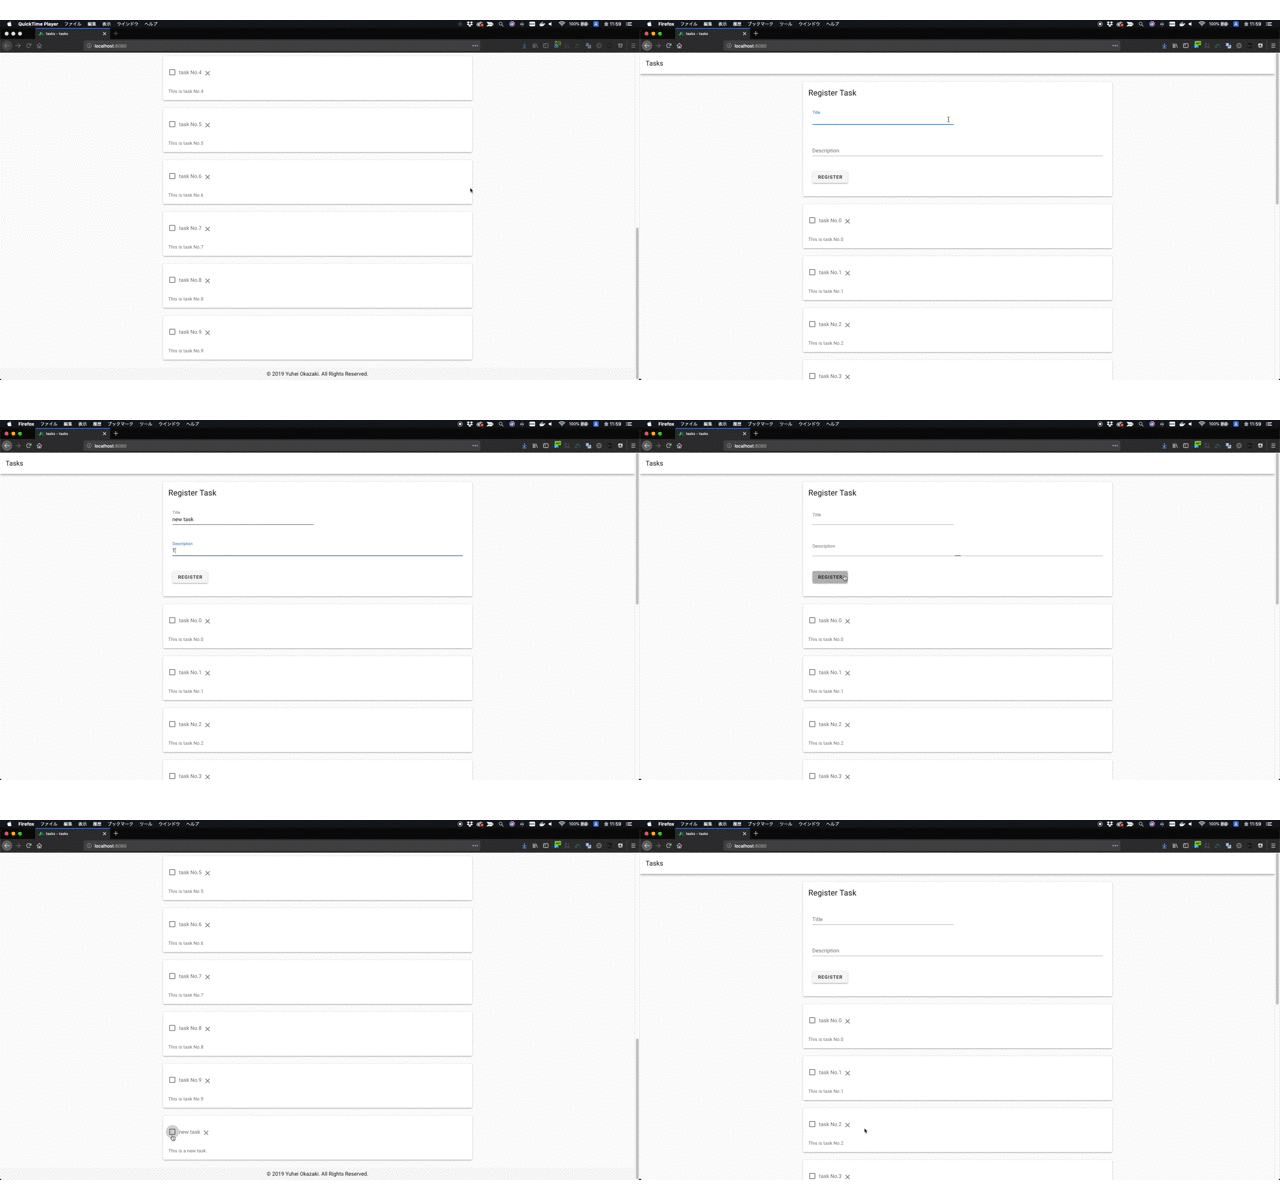
前編・後編を終えるとこのようなToDoアプリが完成する予定です。

ソースコードは以下に公開しています。
https://github.com/yuuu/rails_nuxt_graphql_todoapp/
チュートリアル記事を書いた動機
私自信、普段はRuby on Railsで受託開発をしていますが、リッチなUIが必要なケースや大規模システムの開発、モバイルアプリへのAPI対応など、「フロントエンド」や「フロントエンドといい感じに連携する技術」が求められるケースが増えてきていると感じています。
同じように感じている人は多いはず、ということでフロントエンドもGraphQLもほとんど触ったことがない私のような人に向けたチュートリアル記事を書きました。
動作環境
RubyもRailsも現時点での最新バージョンを使用します。
Railsはリリースされたばかりの 6.0.0 です。
$ ruby -v
ruby 2.6.3p62 (2019-04-16 revision 67580) [x86_64-darwin18]
$ rails -v
Rails 6.0.0
Rails newする
Rails newします。GraphQLのみの実装なのでAPIモードにしました。
$ rails new rails_nuxt_grapshql_todoapp --api
Gemのインストール
RailsにGraphQLを組み込むため、graphql-rubyをインストールします。
また、CORS設定をするため、 rack-cors のコメントを外しておきます。
Gemfile
source 'https://rubygems.org'
git_source(:github) { |repo| "https://github.com/#{repo}.git" }

ruby '2.6.3'

# Bundle edge Rails instead: gem 'rails', github: 'rails/rails'
gem 'rails', '~> 6.0.0'
# Use sqlite3 as the database for Active Record
gem 'sqlite3', '~> 1.4'
# Use Puma as the app server
gem 'puma', '~> 3.11'
# Build JSON APIs with ease. Read more: https://github.com/rails/jbuilder
# gem 'jbuilder', '~> 2.7'
# Use Redis adapter to run Action Cable in production
# gem 'redis', '~> 4.0'
# Use Active Model has_secure_password
# gem 'bcrypt', '~> 3.1.7'

# Use Active Storage variant
# gem 'image_processing', '~> 1.2'

# Reduces boot times through caching; required in config/boot.rb
gem 'bootsnap', '>= 1.4.2', require: false

# Use Rack CORS for handling Cross-Origin Resource Sharing (CORS), making cross-origin AJAX possible
gem 'rack-cors' # ★コメントを外す
gem 'graphql'   # ★追記する

group :development, :test do
  # Call 'byebug' anywhere in the code to stop execution and get a debugger console
  gem 'byebug', platforms: [:mri, :mingw, :x64_mingw]
end

group :development do
  gem 'listen', '>= 3.0.5', '< 3.2'
  # Spring speeds up development by keeping your application running in the background. Read more: https://github.com/rails/spring
  gem 'spring'
  gem 'spring-watcher-listen', '~> 2.0.0'
end

# Windows does not include zoneinfo files, so bundle the tzinfo-data gem
gem 'tzinfo-data', platforms: [:mingw, :mswin, :x64_mingw, :jruby]
Gemfileの編集が終わったら bundle install をしておきましょう。
$ bundle install --path vendor
モデルとseedを作成
ToDoアプリなので「タイトル」「説明」「完了フラグ」を持ったTaskモデルを作成します。
$ bundle exec rails g model task title:string description:text completed:boolean
seedファイルも作って流しておきます。
10.times do |i|
  Task.create(
    title: "task No.#{i}",
    description: "This is task No.#{i}",
    completed: false
  )
end
$ bundle exec rails db:create db:migrate db:seed
GraphQL Queryによる全件取得に対応する
いよいよGraphQLのスキーマ定義に移ります。
まずは以下コマンドで雛形を作成します。
$ bundle exec rails g graphql:install
$ bundle exec rails g graphql:object Task id:ID! title:String! description:String! completed:Boolean!
最初のコマンドで、app/graphql に様々なファイルが作成されたかと思われます。
また、次のコマンドで app/graphql/types/task_type.rb が生成されます。
これが、GraphQLにおけるTypeを定義したファイルです。
module Types
  class TaskType < Types::BaseObject
    field :id, ID, null: false
    field :title, String, null: false
    field :description, String, null: false
    field :completed, Boolean, null: false
  end
end
続けて、 app/grapql/tyoes/query_type.rb を編集します。
module Types
  class QueryType < Types::BaseObject
    # Add root-level fields here.
    # They will be entry points for queries on your schema.

    # ★ここから追記
    field :tasks, [Types::TaskType], null: false, description: 'タスクを全件取得する'
    def tasks
      Task.all
    end
    # ★ここまで追記
  end
end
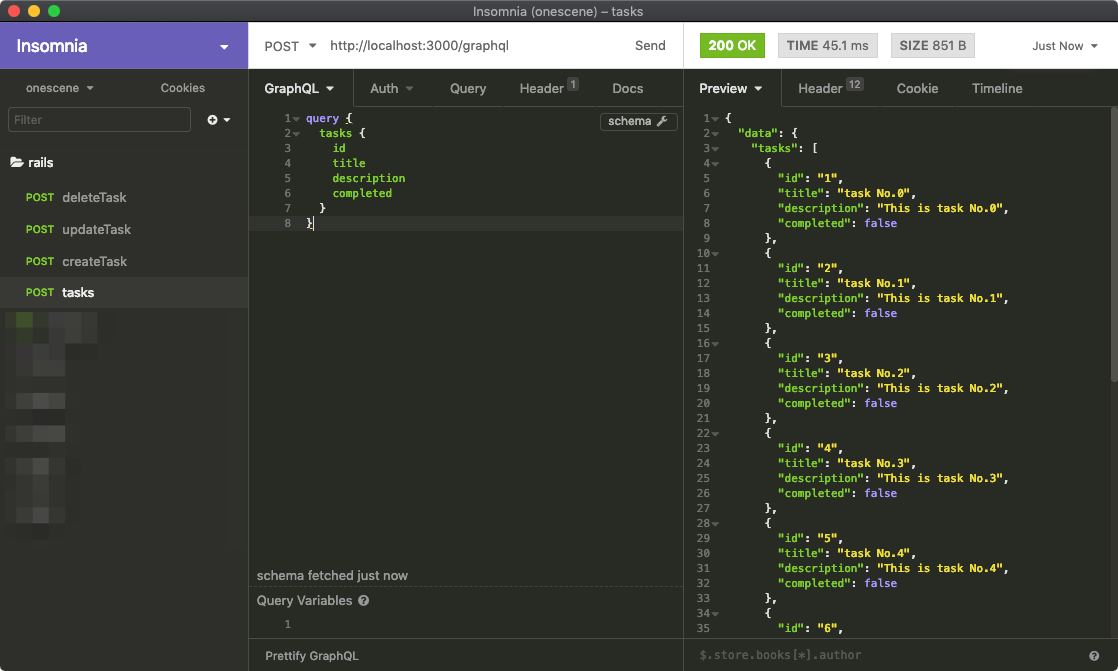
ここまでできたら一度サーバ起動して、GraphQL Queryを発行してみましょう。
$ bundle exe rails s
発行するQueryは以下の通りです。
query {
  tasks {
    id
    title
    description
    completed
  }
}
するとこのようなレスポンスが返ってきます。
{
  "data": {
    "tasks": [
      {
        "id": "1",
        "title": "task No.0",
        "description": "This is task No.0",
        "completed": false
      },
      {
        "id": "2",
        "title": "task No.1",
        "description": "This is task No.1",
        "completed": false
      },
      {
        "id": "3",
        "title": "task No.2",
        "description": "This is task No.2",
        "completed": false
      },
      {
        "id": "4",
        "title": "task No.3",
        "description": "This is task No.3",
        "completed": false
      },
      {
        "id": "5",
        "title": "task No.4",
        "description": "This is task No.4",
        "completed": false
      },
      {
        "id": "6",
        "title": "task No.5",
        "description": "This is task No.5",
        "completed": false
      },
      {
        "id": "7",
        "title": "task No.6",
        "description": "This is task No.6",
        "completed": false
      },
      {
        "id": "8",
        "title": "task No.7",
        "description": "This is task No.7",
        "completed": false
      },
      {
        "id": "9",
        "title": "task No.8",
        "description": "This is task No.8",
        "completed": false
      },
      {
        "id": "10",
        "title": "task No.9",
        "description": "This is task No.9",
        "completed": false
      }
    ]
  }
}
動作確認にはInsomnia を利用すると便利です。

GraphQL Mutationを定義する
Taskの作成・更新・削除に対応するため、Mutationを定義します。
ジェネレータが用意されているのでありがたく使わせていただきます。
$ bundle exec rails g graphql:mutation CreateTask
$ bundle exec rails g graphql:mutation UpdateTask
$ bundle exec rails g graphql:mutation DeleteTask
生成されたファイルに処理を記述していきます。
app/graphql/mutations/create_task.rb
module Mutations
  class CreateTask < GraphQL::Schema::RelayClassicMutation
    graphql_name 'CreateTask'

    field :task, Types::TaskType, null: true
    field :result, Boolean, null: true

    argument :title, String, required: false
    argument :description, String, required: false

    def resolve(**args)
      task = Task.create(
        title: args[:title],
        description: args[:description],
        completed: false
      )
      {
        task: task,
        result: task.errors.blank?
      }
    end
  end
end
app/graphql/mutations/update_task.rb
※今回はdoneカラムのみ更新できるようにしています。
module Mutations
  class UpdateTask < GraphQL::Schema::RelayClassicMutation
    graphql_name 'UpdateTask'

    field :task, Types::TaskType, null: true
    field :result, Boolean, null: true

    argument :id, ID, required: true
    argument :completed, Boolean, required: true

    def resolve(**args)
      task = Task.find(args[:id])
      task.update(completed: args[:completed])
      {
        task: task,
        result: task.errors.blank?
      }
    end
  end
end
app/graphql/mutations/delete_task.rb
module Mutations
  class DeleteTask < GraphQL::Schema::RelayClassicMutation
    graphql_name 'DeleteTask'

    field :task, Types::TaskType, null: true
    field :result, Boolean, null: true

    argument :id, ID, required: true

    def resolve(**args)
      task = Task.find(args[:id])
      task.destroy
      {
        task: task
      }
    end
  end
end
ここまでできたら、再度サーバ起動して、GraphQL Mutationを発行してみましょう。
新規作成(mutation)
mutation {
  createTask(
    input: {
      title: "new task"
      description: "This is a new task."
    }
  ) {
    task {
      id
      title
      description
      completed
    }
    result
  }
}
新規作成(結果)
{
  "data": {
    "createTask": {
      "task": {
        "id": "11",
        "title": "new task",
        "description": "This is a new task.",
        "completed": false
      },
      "result": true
    }
  }
}
更新(mutation)
mutation {
  updateTask(
    input: {
      id: 11
      completed: true
    }
  ) {
    task {
      id
      title
      description
      completed
    }
    result
  }
}
更新(結果)
{
  "data": {
    "updateTask": {
      "task": {
        "id": "11",
        "title": "new task",
        "description": "This is a new task.",
        "completed": true
      },
      "result": true
    }
  }
}
削除(mutation)
mutation {
  deleteTask(
    input: {
      id: 11
    }
  ) {
    task{
      id
    }
  }
}
削除(結果)
{
  "data": {
    "deleteTask": {
      "task": {
        "id": 11
      }
    }
  }
}
CORS設定を追加
次回、別オリジンからこのサーバへPOSTをする予定なので、CORS設定を追加しておきます。
Rails.application.config.middleware.insert_before 0, Rack::Cors do
  allow do
    origins 'localhost:8080'

    resource '*',
      headers: :any,
      methods: [:get, :post, :put, :patch, :delete, :options, :head]
  end
end
Schemaドキュメントを閲覧する
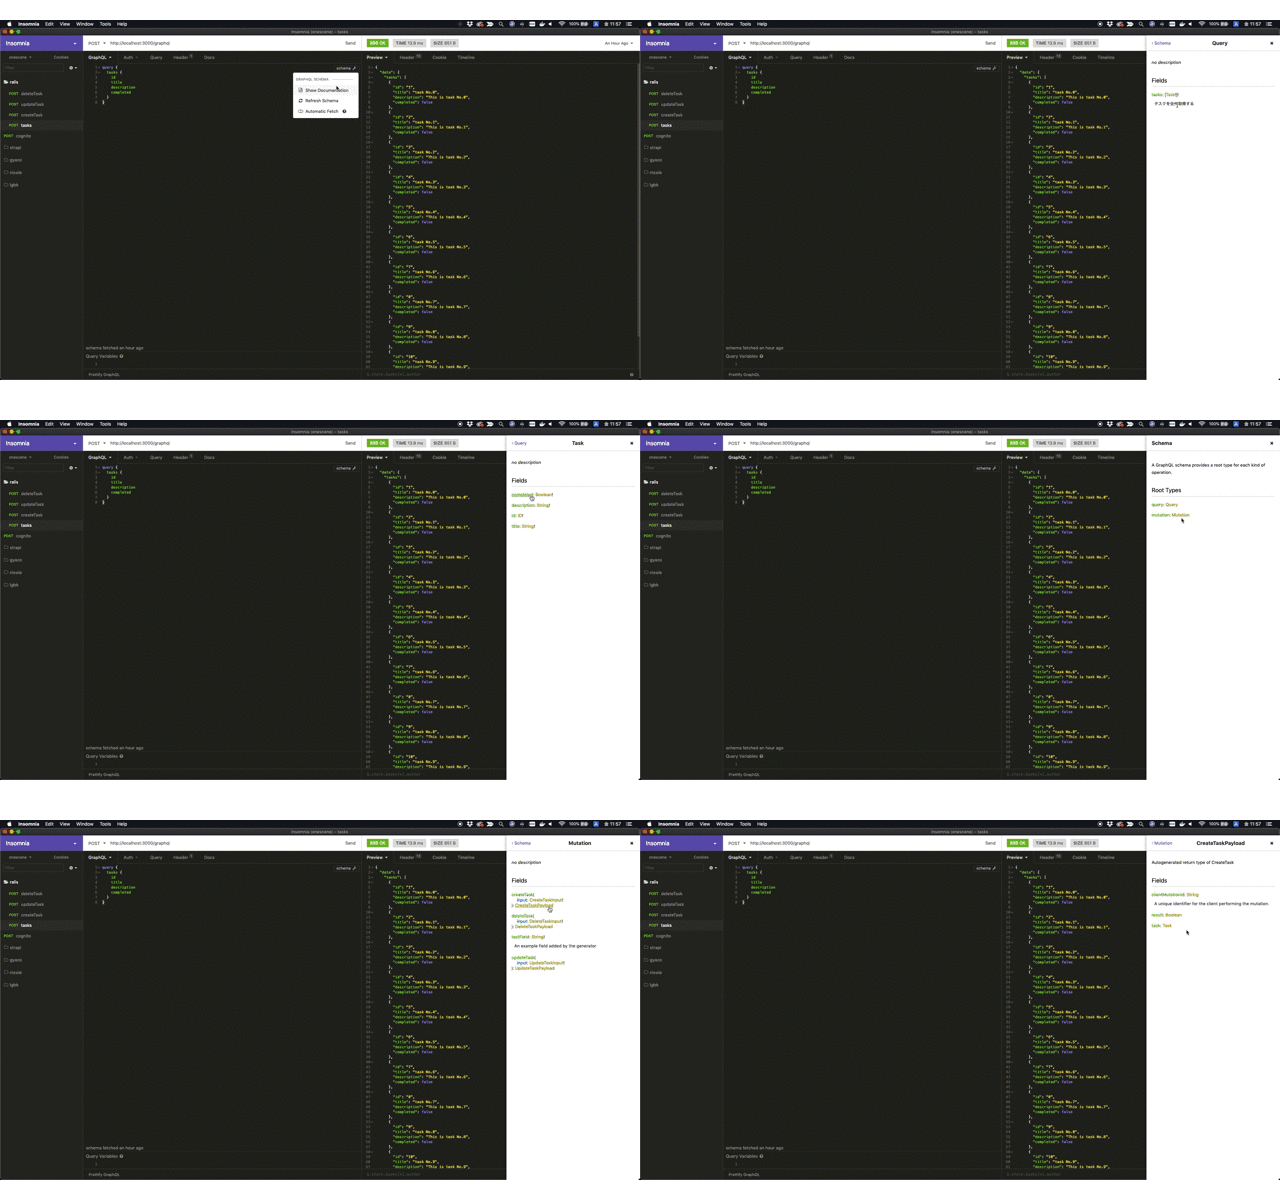
以上の手順を完了した時点で、Insomnia等のクライアントから簡単にGraphQLサーバのSchemaをドキュメントとして閲覧できます。
フロントエンド担当者のためにドキュメントを起こさなくても自動生成されるので、バックエンドエンジニア・フロントエンドエンジニア双方に優しい世界ですね。

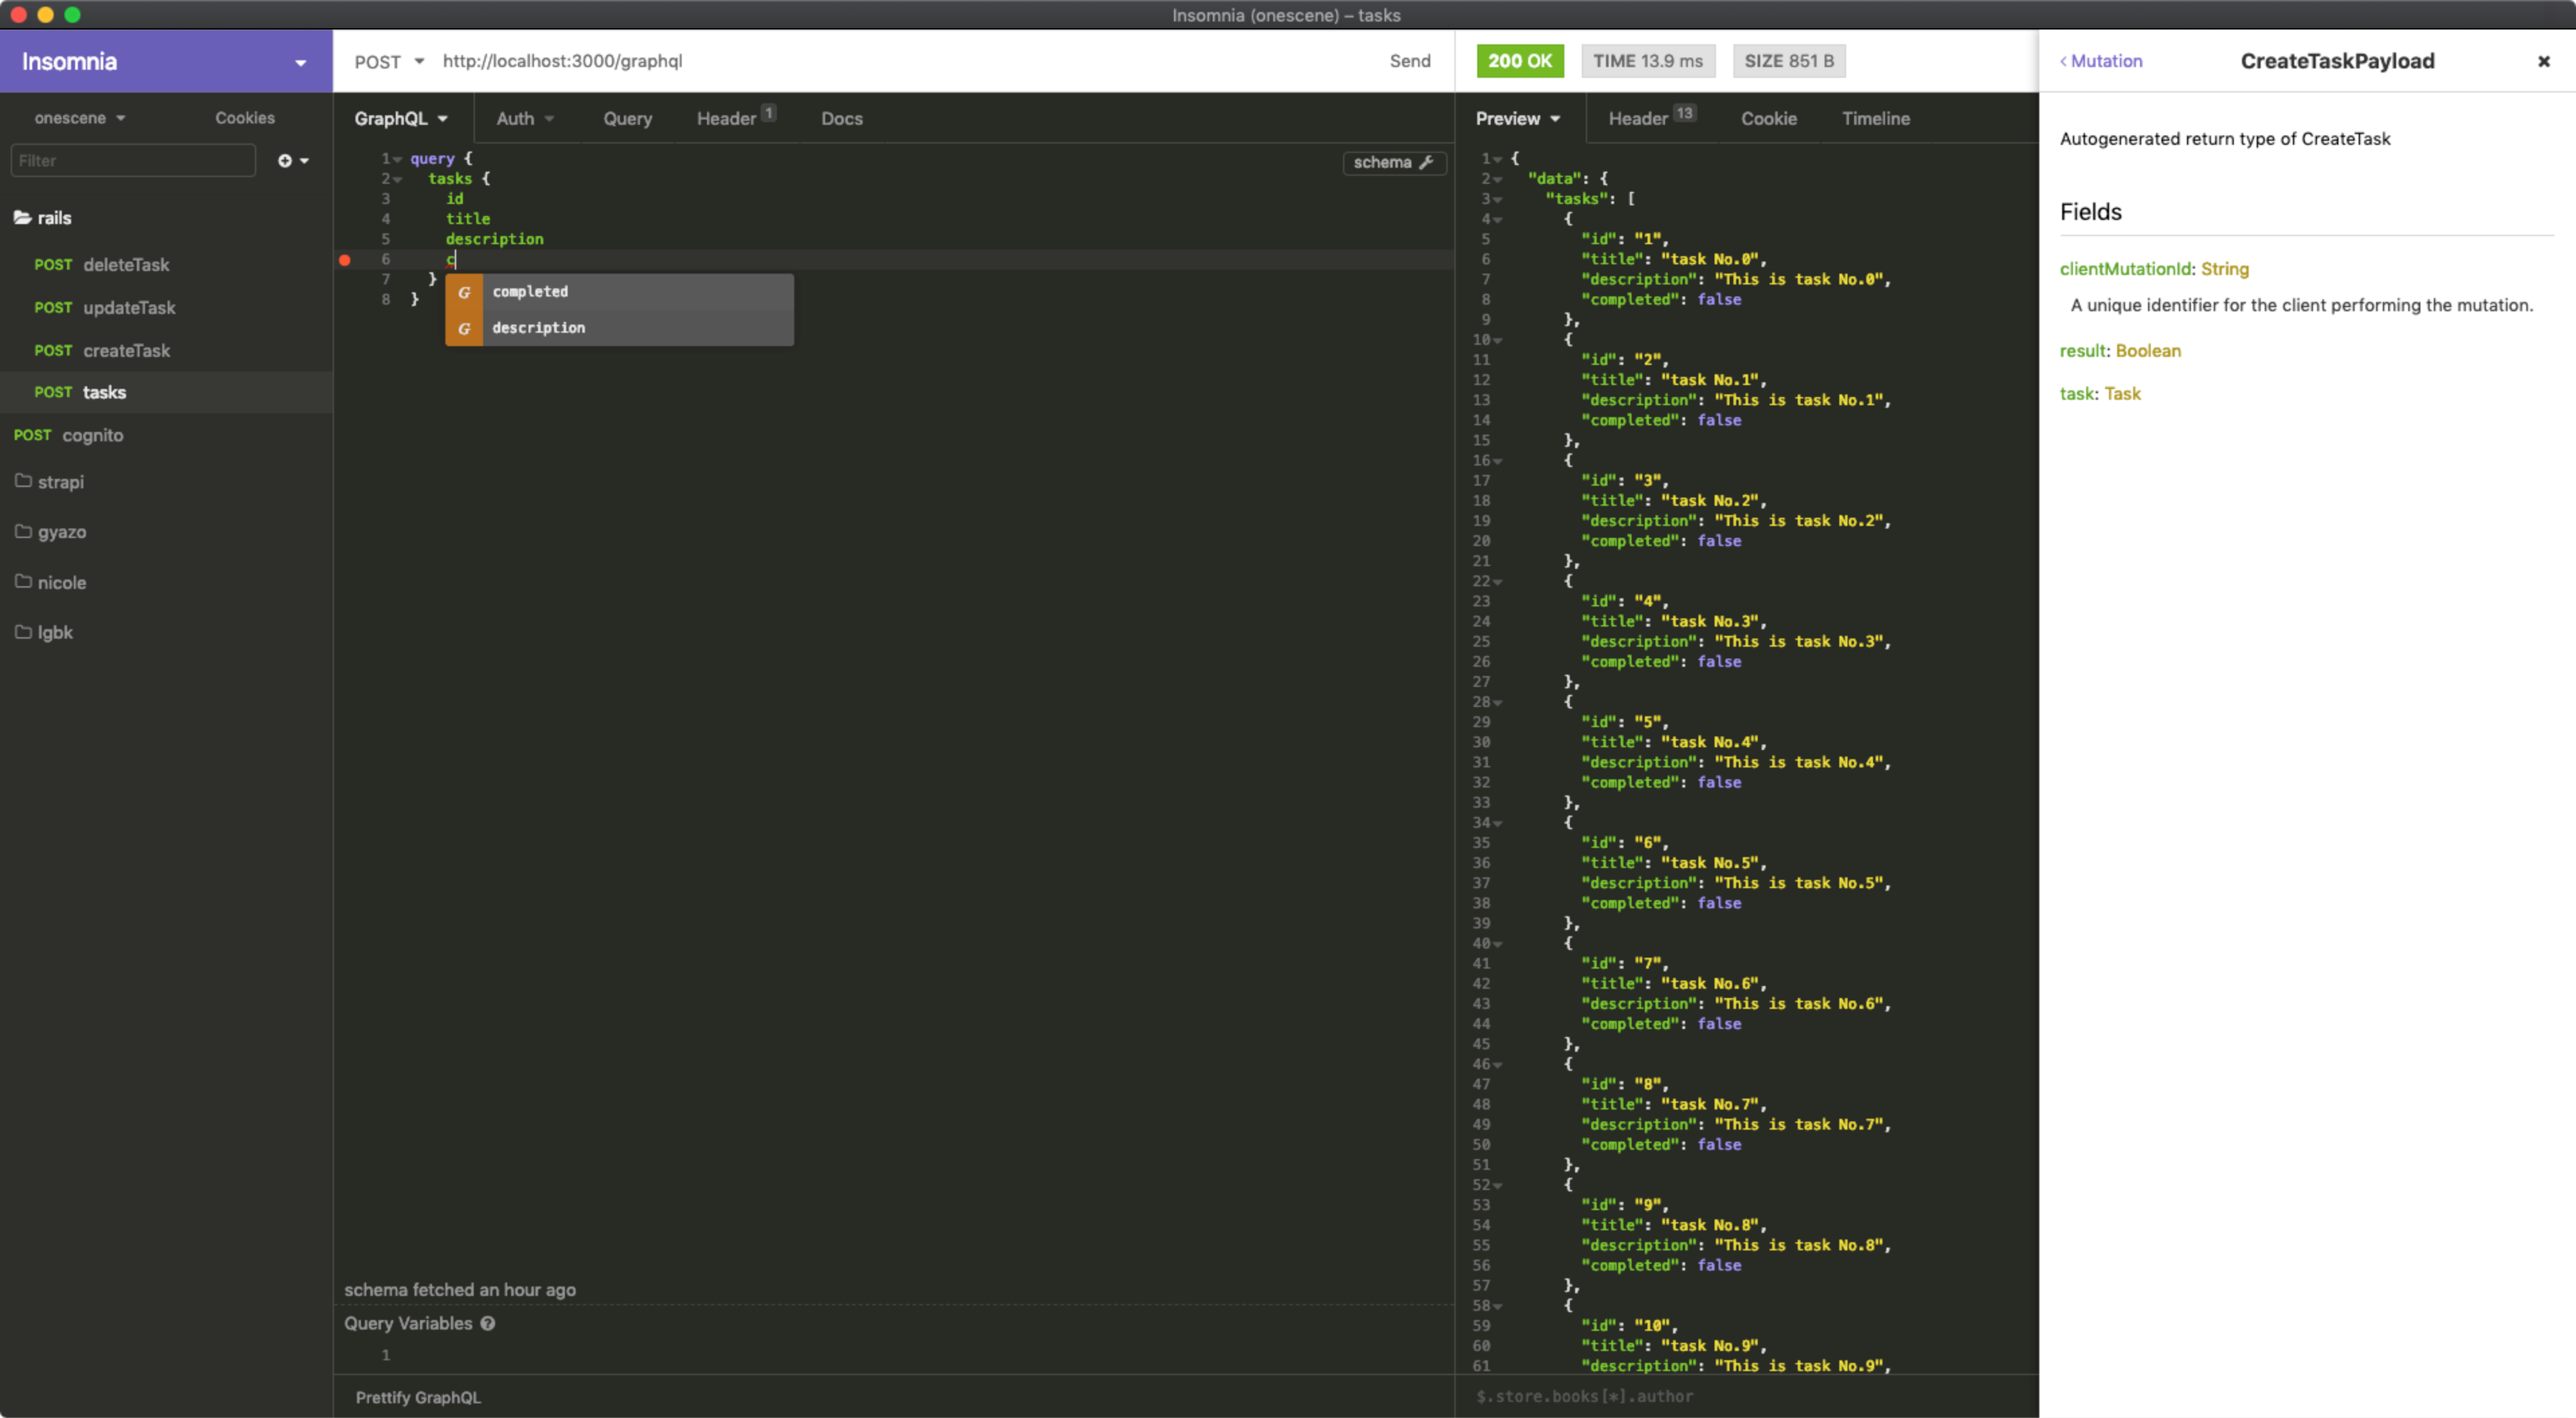
サーバ側のSchemaを自動認識して補完もしてくれます。

まとめ
以上、バックエンド側のGraphQLサーバの実装方法でした。
次回はフロントエンド側をNuxt.js + Apollo Clientで実装予定ですので、お楽しみに。
(2019/8/24 追記) 後編を書きました。
