Fusicフロントエンドチームの山西です。
今回は、Expo、React Nativeで開発するアプリに、Apple Widgetを実装してみました。
今回作ったもの
今回は、Expo環境でのApple Widget開発を試してみたかっただけなので、
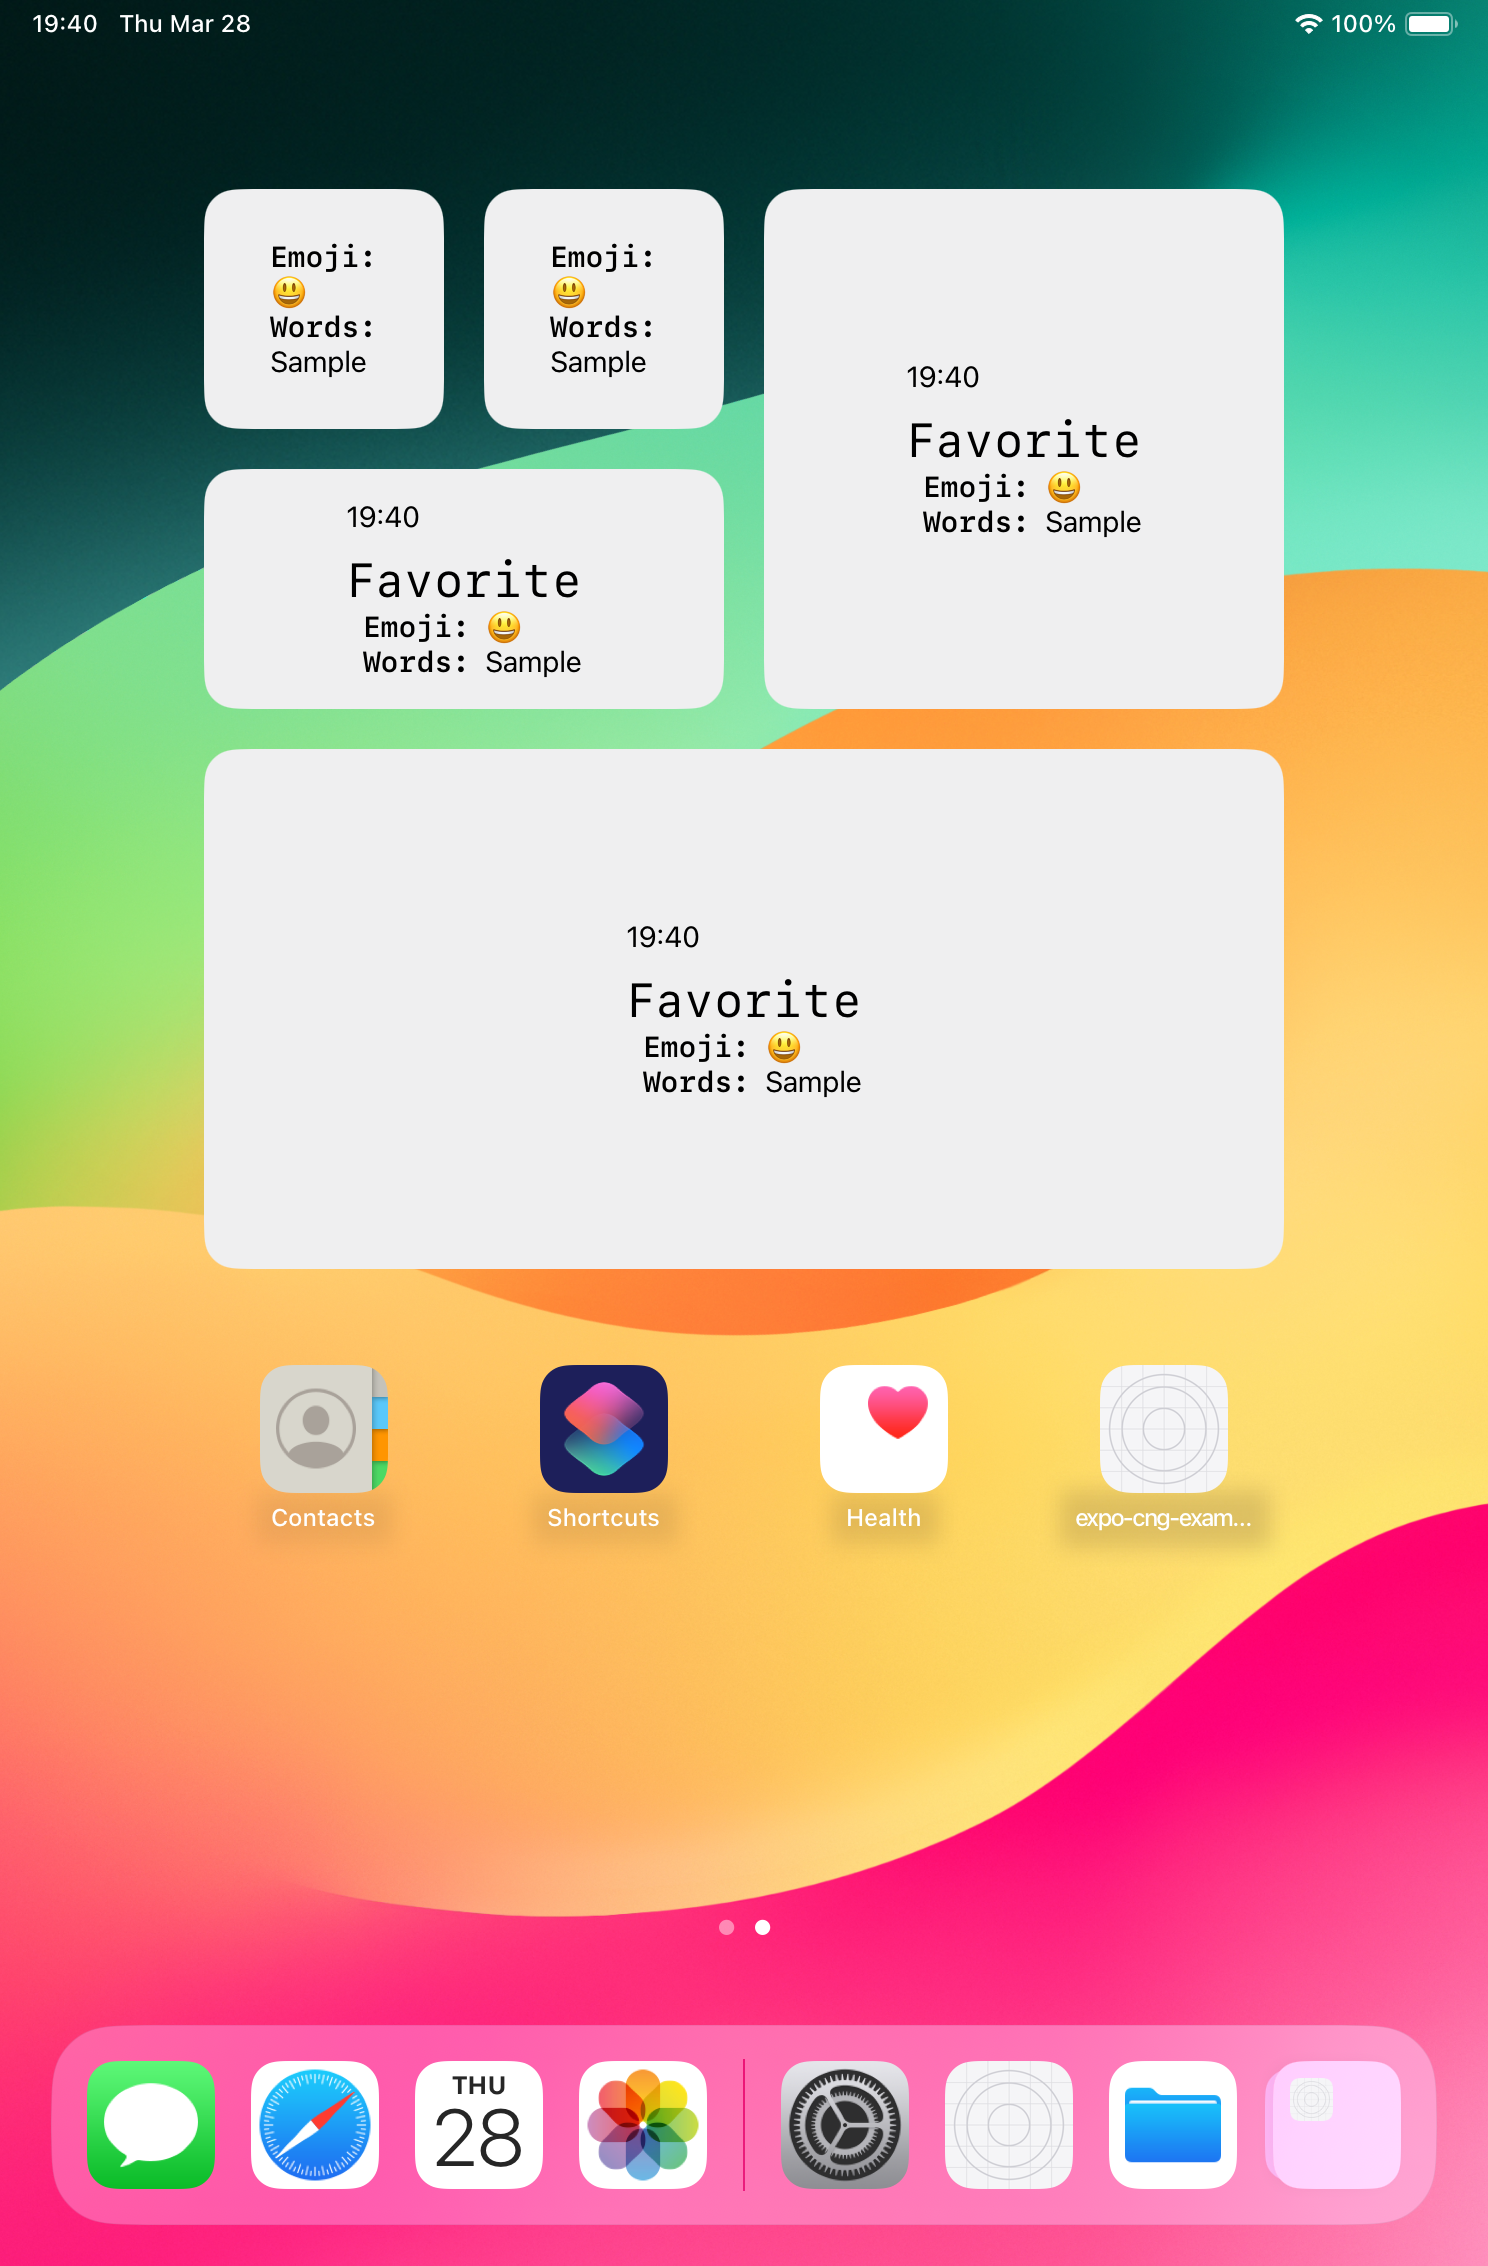
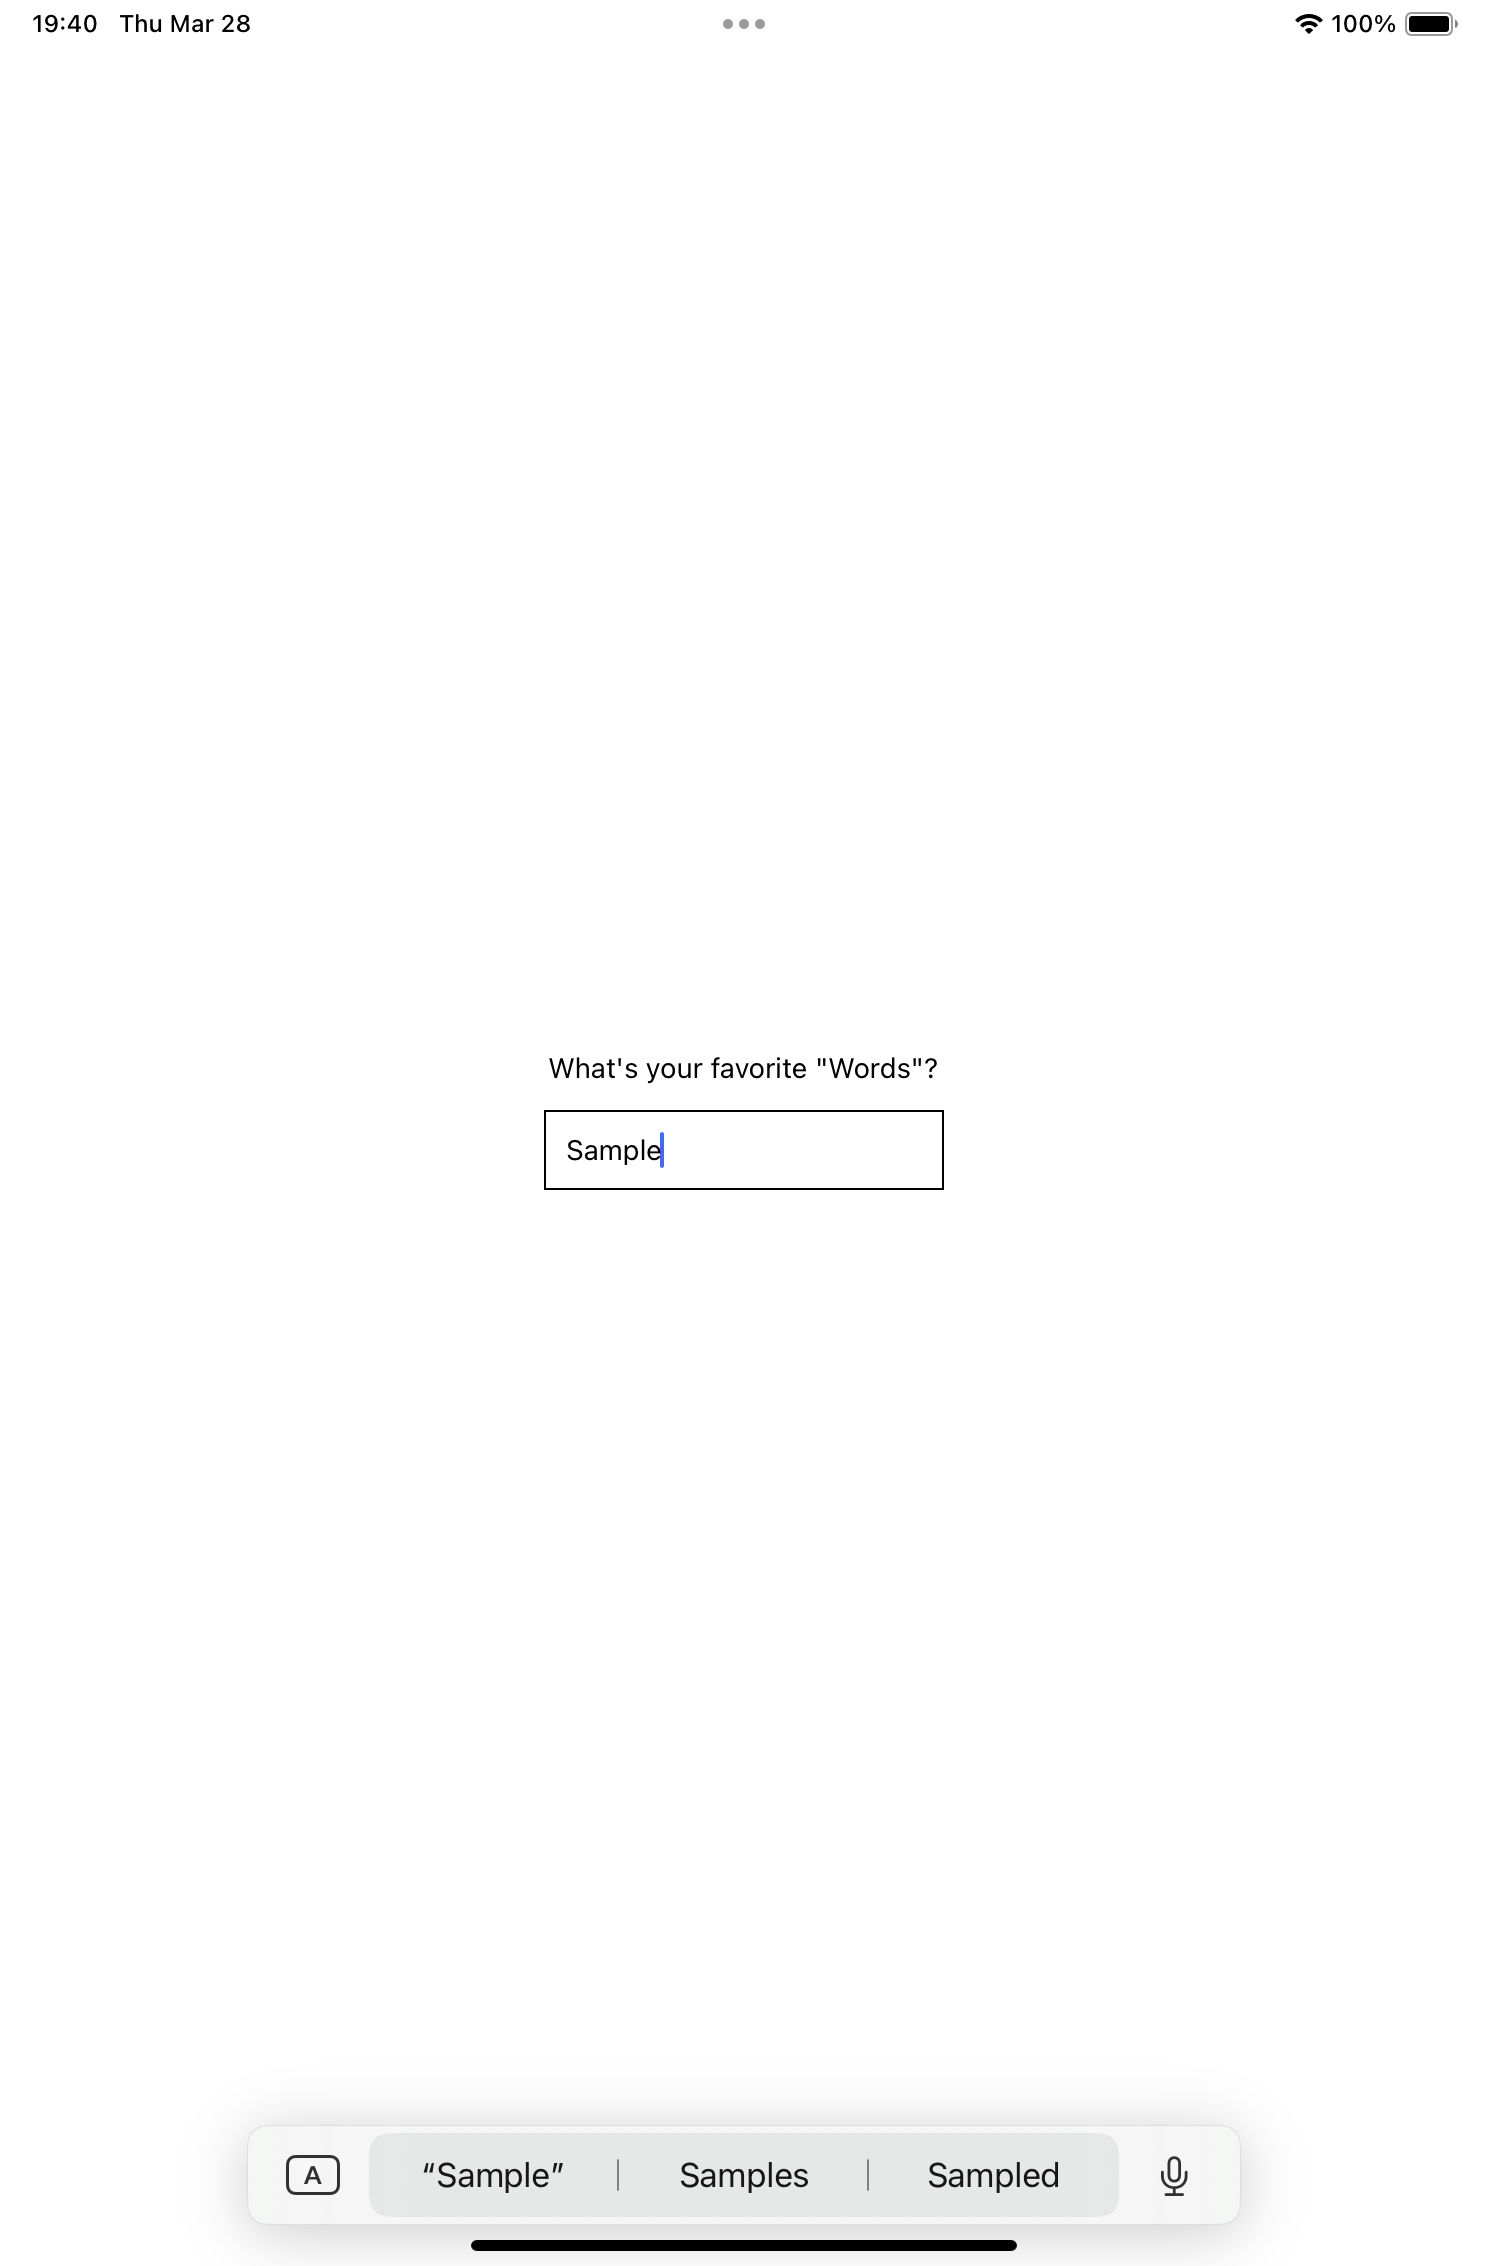
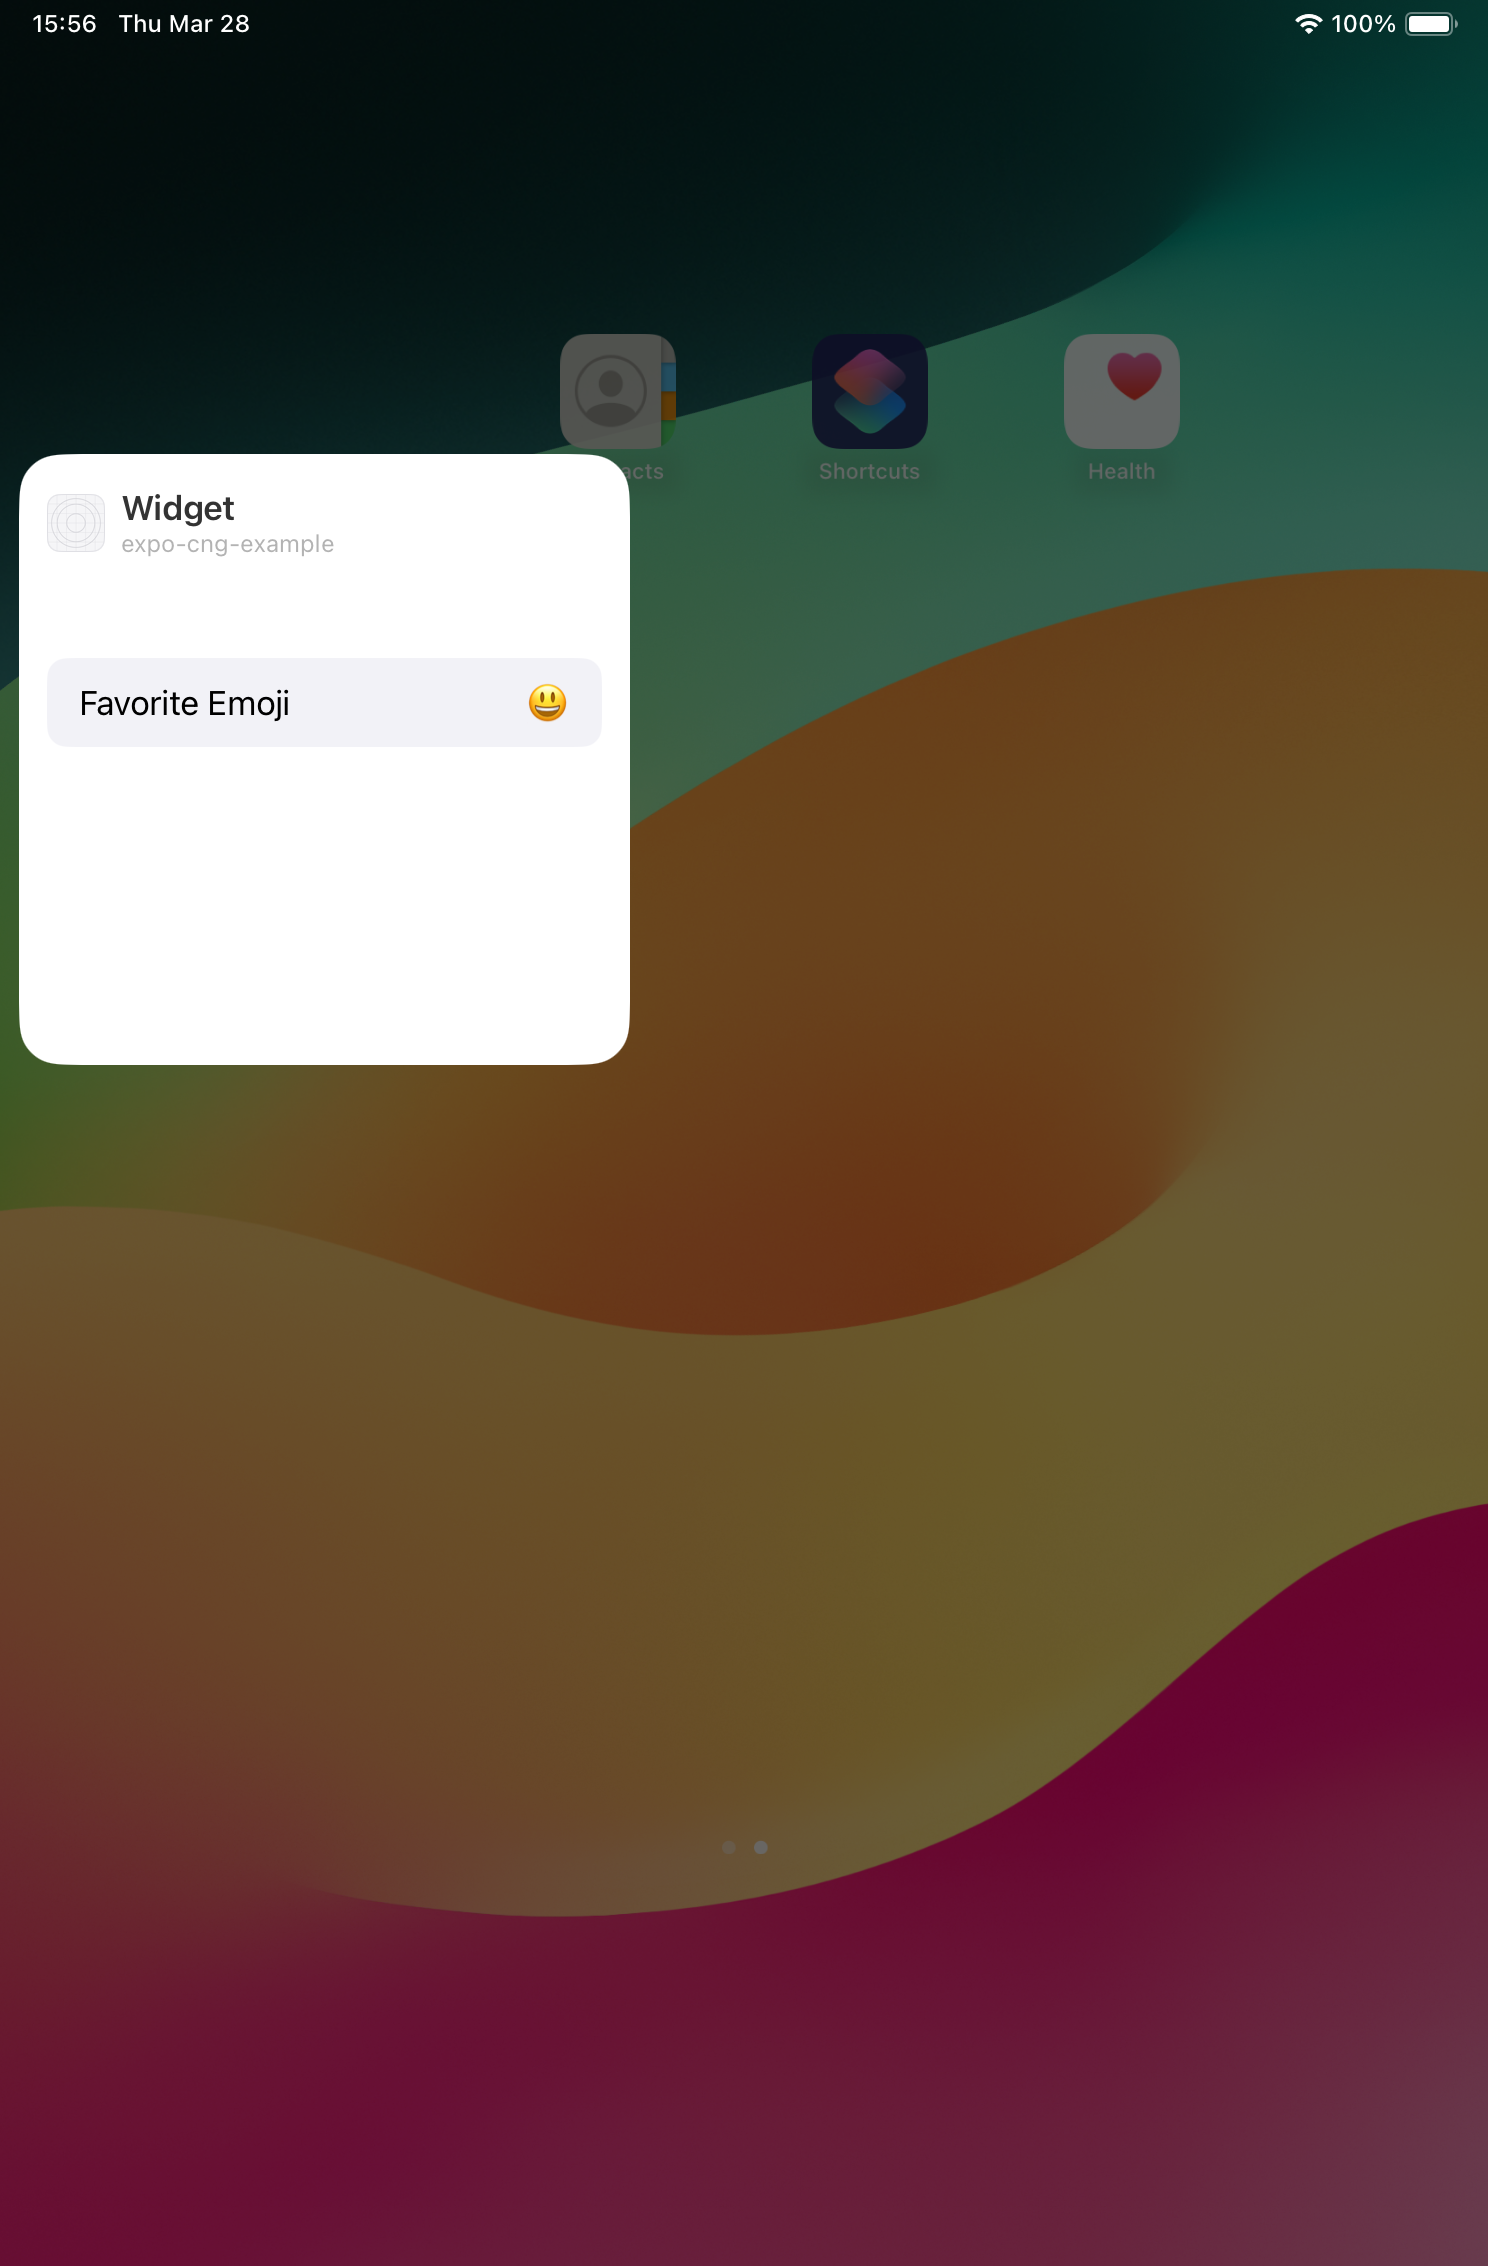
ウィジェット設定にて設定した「お気に入りの絵文字」と、アプリで入力した「お気に入りの言葉」がウィジェットに表示される簡単なアプリを作りました。
実際のアプリ画面
使用した技術・言語・ライブラリ
Expo(React Native)
本体アプリは、Expo(React Native)を利用してアプリを構築しています。
Expo・React Nativeは、クロスプラットフォームなアプリを開発することができ、iOS、Androidアプリとして提供できることはもちろん、Webアプリとしても提供することができます。
数年前までは、ネイティブアプリ開発の技術選定において、Expo・React Nativeは、クロスプラットフォームであることによる「開発効率化」と引き換えに、「使用できるネイティブ機能の制限が限られる」というデメリットも大きいというイメージで、避けられるケースも少なくなかったですが、近年では、Expoの利便性がかなり向上し、Expo Moduleの登場で「使用できるネイティブ機能の制限が限られる」というデメリットがあまり気にならなくなりました。
また、Expo Router などの便利なライブラリ・フレームワークの開発も活発で、個人的にとても推している技術です。
弊社のテックブログでもいくつか、Expoに関する記事があるので、是非読んで見てください。
Expo Module
React Native側とネイティブ(Swift)側のデータのやり取りを行うために、の更新関数をexpo-moduleで実装しています。
expo-moduleを利用することで、Expoで開発しているアプリで、ネイティブAPIを利用した処理をシンプルなインターフェースで実装することができます。
expo-apple-targets
今回は、Expoで実装したアプリでも簡単に、AppExtensionsの開発を始められるexpo-apple-targetsを使いました。
本来Swiftで実装するiOSアプリでApp Extensionsを実装する際、本体アプリに加えて、Xcodeにて、App Extensionsのターゲットというものを作成し、開発を進めていくのですが、expo-apple-targetsを導入することで、/target配下をXcodeの仮想ターゲットとして認識させることができ、/targetディレクトリ配下でApp Extensionsを実装することができます。
/iosディレクトリ配下ではないため、Expoが提唱するContinuous Native Generation(CNG)というワークフローのまま、開発することが可能となります。
expo-apple-targetsは、Expo Routerを開発している、Evan Beaconさんが作成したライブラリで、Expoを利用したクロスプラットフォーム環境で効率的にアプリを開発しつつ、付加価値的なOS特有の機能までExpo環境でスムーズに開発することを可能にします。
Caution
> "This is highly experimental and not part of any official Expo workflow." expo-apple-targets は、上記の注意書きがあるので、使用する場合は注意が必要です。
React NativeでApple Widgetを開発する方法として、下記のライブラリを使用する方法もありますが、今後、Widgetだけでなく、他のApp Extensionsも試したかったため、今回は使用しません。
Swift
Apple Widgetの実装自体は、Swiftで行なっています。
わざわざ、React Nativeでクロスプラットフォームなアプリを開発しているのに、Swift書きたくないという意見もあるかと思いますが、ちょっとした機能を開発するぐらいだったら、そこまで気にする必要はないかと思います。
ベースアプリを実装
Expo のプロジェクトを作成する
下記のコマンドを実行して、Expoのプロジェクトを作成します。
今回のプロジェクト名は、expo-cng-exampleとしています。
$ npx create-expo-app expo-cng-example -t expo-template-blank-typescript

Need to install the following packages:
create-expo-app@2.1.1
Ok to proceed? (y) y
✔ Downloaded and extracted project files.
> npm install
npm WARN deprecated @babel/plugin-proposal-numeric-separator@7.18.6: This proposal has been merged to the ECMAScript standard and thus this plugin is no longer maintained. Please use @babel/plugin-transform-numeric-separator instead.
npm WARN deprecated @babel/plugin-proposal-optional-catch-binding@7.18.6: This proposal has been merged to the ECMAScript standard and thus this plugin is no longer maintained. Please use @babel/plugin-transform-optional-catch-binding instead.
npm WARN deprecated @babel/plugin-proposal-nullish-coalescing-operator@7.18.6: This proposal has been merged to the ECMAScript standard and thus this plugin is no longer maintained. Please use @babel/plugin-transform-nullish-coalescing-operator instead.
npm WARN deprecated @babel/plugin-proposal-class-properties@7.18.6: This proposal has been merged to the ECMAScript standard and thus this plugin is no longer maintained. Please use @babel/plugin-transform-class-properties instead.
npm WARN deprecated @babel/plugin-proposal-optional-chaining@7.21.0: This proposal has been merged to the ECMAScript standard and thus this plugin is no longer maintained. Please use @babel/plugin-transform-optional-chaining instead.
npm WARN deprecated @babel/plugin-proposal-async-generator-functions@7.20.7: This proposal has been merged to the ECMAScript standard and thus this plugin is no longer maintained. Please use @babel/plugin-transform-async-generator-functions instead.
npm WARN deprecated @babel/plugin-proposal-object-rest-spread@7.20.7: This proposal has been merged to the ECMAScript standard and thus this plugin is no longer maintained. Please use @babel/plugin-transform-object-rest-spread instead.
npm WARN deprecated @npmcli/move-file@1.1.2: This functionality has been moved to @npmcli/fs

added 1167 packages, and audited 1168 packages in 23s

65 packages are looking for funding
  run `npm fund` for details

5 moderate severity vulnerabilities

To address all issues (including breaking changes), run:
  npm audit fix --force

Run `npm audit` for details.

✅ Your project is ready!

To run your project, navigate to the directory and run one of the following npm commands.

- cd expo-cng-example
- npm run android
- npm run ios
- npm run web
作成できたら、ディレクトリを移動して、作業を開始します。
$ cd expo-cng-example
コマンドを実行して起動します。
起動したら、実行したい環境によってコマンドを実行します。
私は、iOSシミュレーターで起動したかったため、i を入力しました。
$ npm run start

> expo-cng-example@1.0.0 start
> expo start

...[省略]...

› Scan the QR code above with Expo Go (Android) or the Camera app (iOS)

› Using Expo Go
› Press s │ switch to development build

› Press a │ open Android
› Press i │ open iOS simulator
› Press w │ open web

› Press j │ open debugger
› Press r │ reload app
› Press m │ toggle menu
› Press o │ open project code in your editor

› Press ? │ show all commands
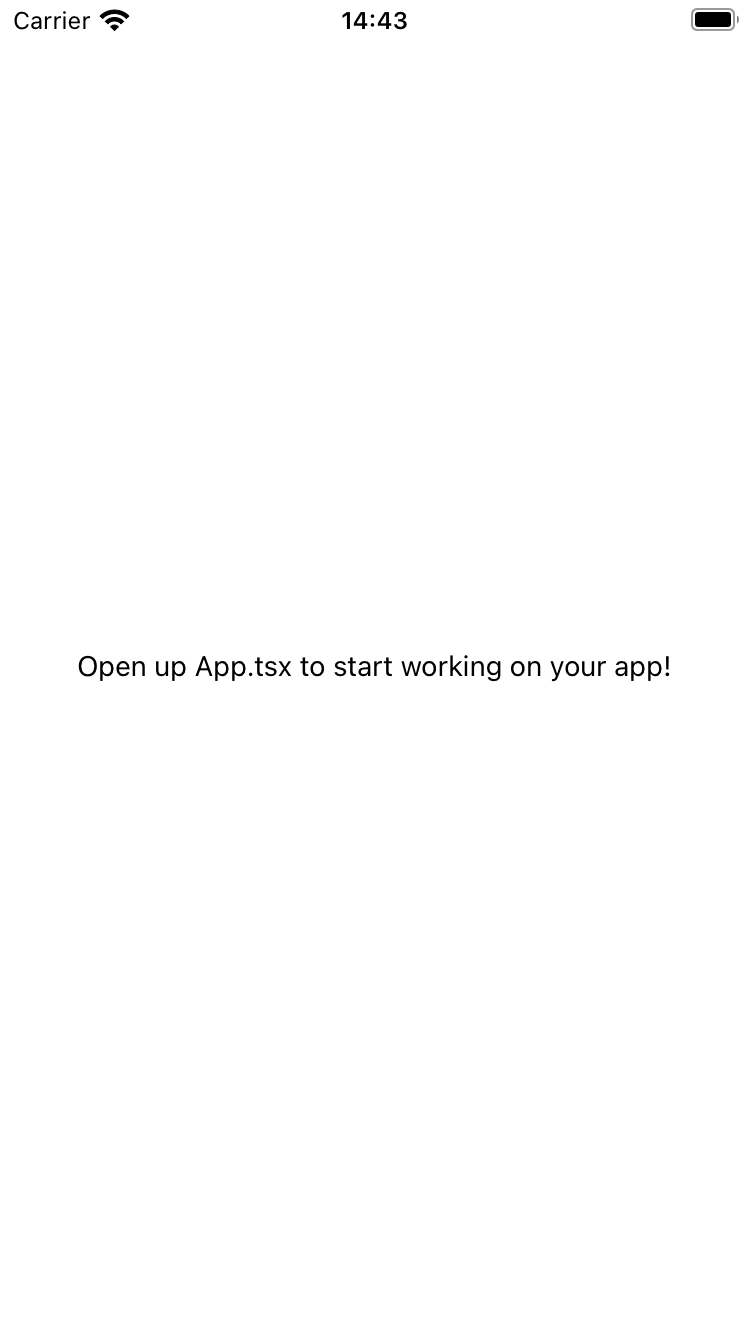
すると無事、シミュレーターに画面が起動しました。
Widgetを実装
今回は下記のライブラリを利用します。
下記コマンドを実行します。
npm install @bacons/apple-targets
./app.jsonに設定をプラグイン設定を追加します。
"plugins": [
      [
        "@bacons/apple-targets",
        {
          "teamId": "XXXXXXXXX"
        }
      ]
    ]
./targets/samplewidgets/expo-target.config.js に設定を追加します。
module.exports = {
  type: "widget",
};
設定が完了したら、prebuildを実施します。
$ npx expo prebuild
prebuildを実施すると、./ios 配下に、Xcodeプロジェクトファイルが生成されます。
これをXcodeで開きます。(workspaceでも良いです)
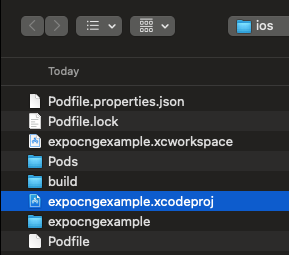
開くと、expo:targets配下に、samplewidgets ディレクトリが表示され、このディレクトリでwidgetの開発を行うことができます。

これで、widgetsの開発準備は完了です。
Apple Widget を実装する
ここからは、SwiftでApple Widgetを実装していきます。
Apple Widget の開発は、Apple Developerドキュメントが参考になります。

今回はひとまず、XcodeにてWidgetプロジェクトを作成した時に生成されるサンプルの実装を持ってきます。(この記事では、SwiftやApple Widgetの実装についての解説は省略します。)
targets/samplewidget/AppIntent.swift
import WidgetKit
import AppIntents

struct ConfigurationAppIntent: WidgetConfigurationIntent {
    static var title: LocalizedStringResource = "Configuration"
    static var description = IntentDescription("This is an example widget.")

    // An example configurable parameter.
    @Parameter(title: "Favorite Emoji", default: "😃")
    var favoriteEmoji: String
}
targets/samplewidget/samplewidget.swift
import WidgetKit
import SwiftUI

struct Provider: AppIntentTimelineProvider {
    func placeholder(in context: Context) -> SimpleEntry {
        SimpleEntry(date: Date(), configuration: ConfigurationAppIntent())
    }

    func snapshot(for configuration: ConfigurationAppIntent, in context: Context) async -> SimpleEntry {
        SimpleEntry(date: Date(), configuration: configuration)
    }

    func timeline(for configuration: ConfigurationAppIntent, in context: Context) async -> Timeline<SimpleEntry> {
        var entries: [SimpleEntry] = []

        // Generate a timeline consisting of five entries an hour apart, starting from the current date.
        let currentDate = Date()
        for hourOffset in 0 ..< 5 {
            let entryDate = Calendar.current.date(byAdding: .hour, value: hourOffset, to: currentDate)!
            let entry = SimpleEntry(date: entryDate, configuration: configuration)
            entries.append(entry)
        }

        return Timeline(entries: entries, policy: .atEnd)
    }
}

struct SimpleEntry: TimelineEntry {
    let date: Date
    let configuration: ConfigurationAppIntent
}

struct samplewidgetEntryView : View {
    var entry: Provider.Entry

    var body: some View {
        VStack {
            Text("Time:")
            Text(entry.date, style: .time)

            Text("Favorite Emoji:")
            Text(entry.configuration.favoriteEmoji)
        }
    }
}

struct samplewidget: Widget {
    let kind: String = "samplewidget"

    var body: some WidgetConfiguration {
        AppIntentConfiguration(kind: kind, intent: ConfigurationAppIntent.self, provider: Provider()) { entry in
            samplewidgetEntryView(entry: entry)
                .containerBackground(.fill.tertiary, for: .widget)
        }
    }
}

extension ConfigurationAppIntent {
    fileprivate static var smiley: ConfigurationAppIntent {
        let intent = ConfigurationAppIntent()
        intent.favoriteEmoji = "😀"
        return intent
    }

    fileprivate static var starEyes: ConfigurationAppIntent {
        let intent = ConfigurationAppIntent()
        intent.favoriteEmoji = "🤩"
        return intent
    }
}
targets/samplewidget/samplewidgetBundle.swift
import WidgetKit
import SwiftUI

@main
struct samplewidgetBundle: WidgetBundle {
    var body: some Widget {
        samplewidget()
        samplewidgetLiveActivity()
    }
}
この状態で下記を実行するとウィジェットが表示されます。
$ npx expo run:ios
ウィジェットを長押ししウィジェット設定を変更すると、絵文字が変更することができます。
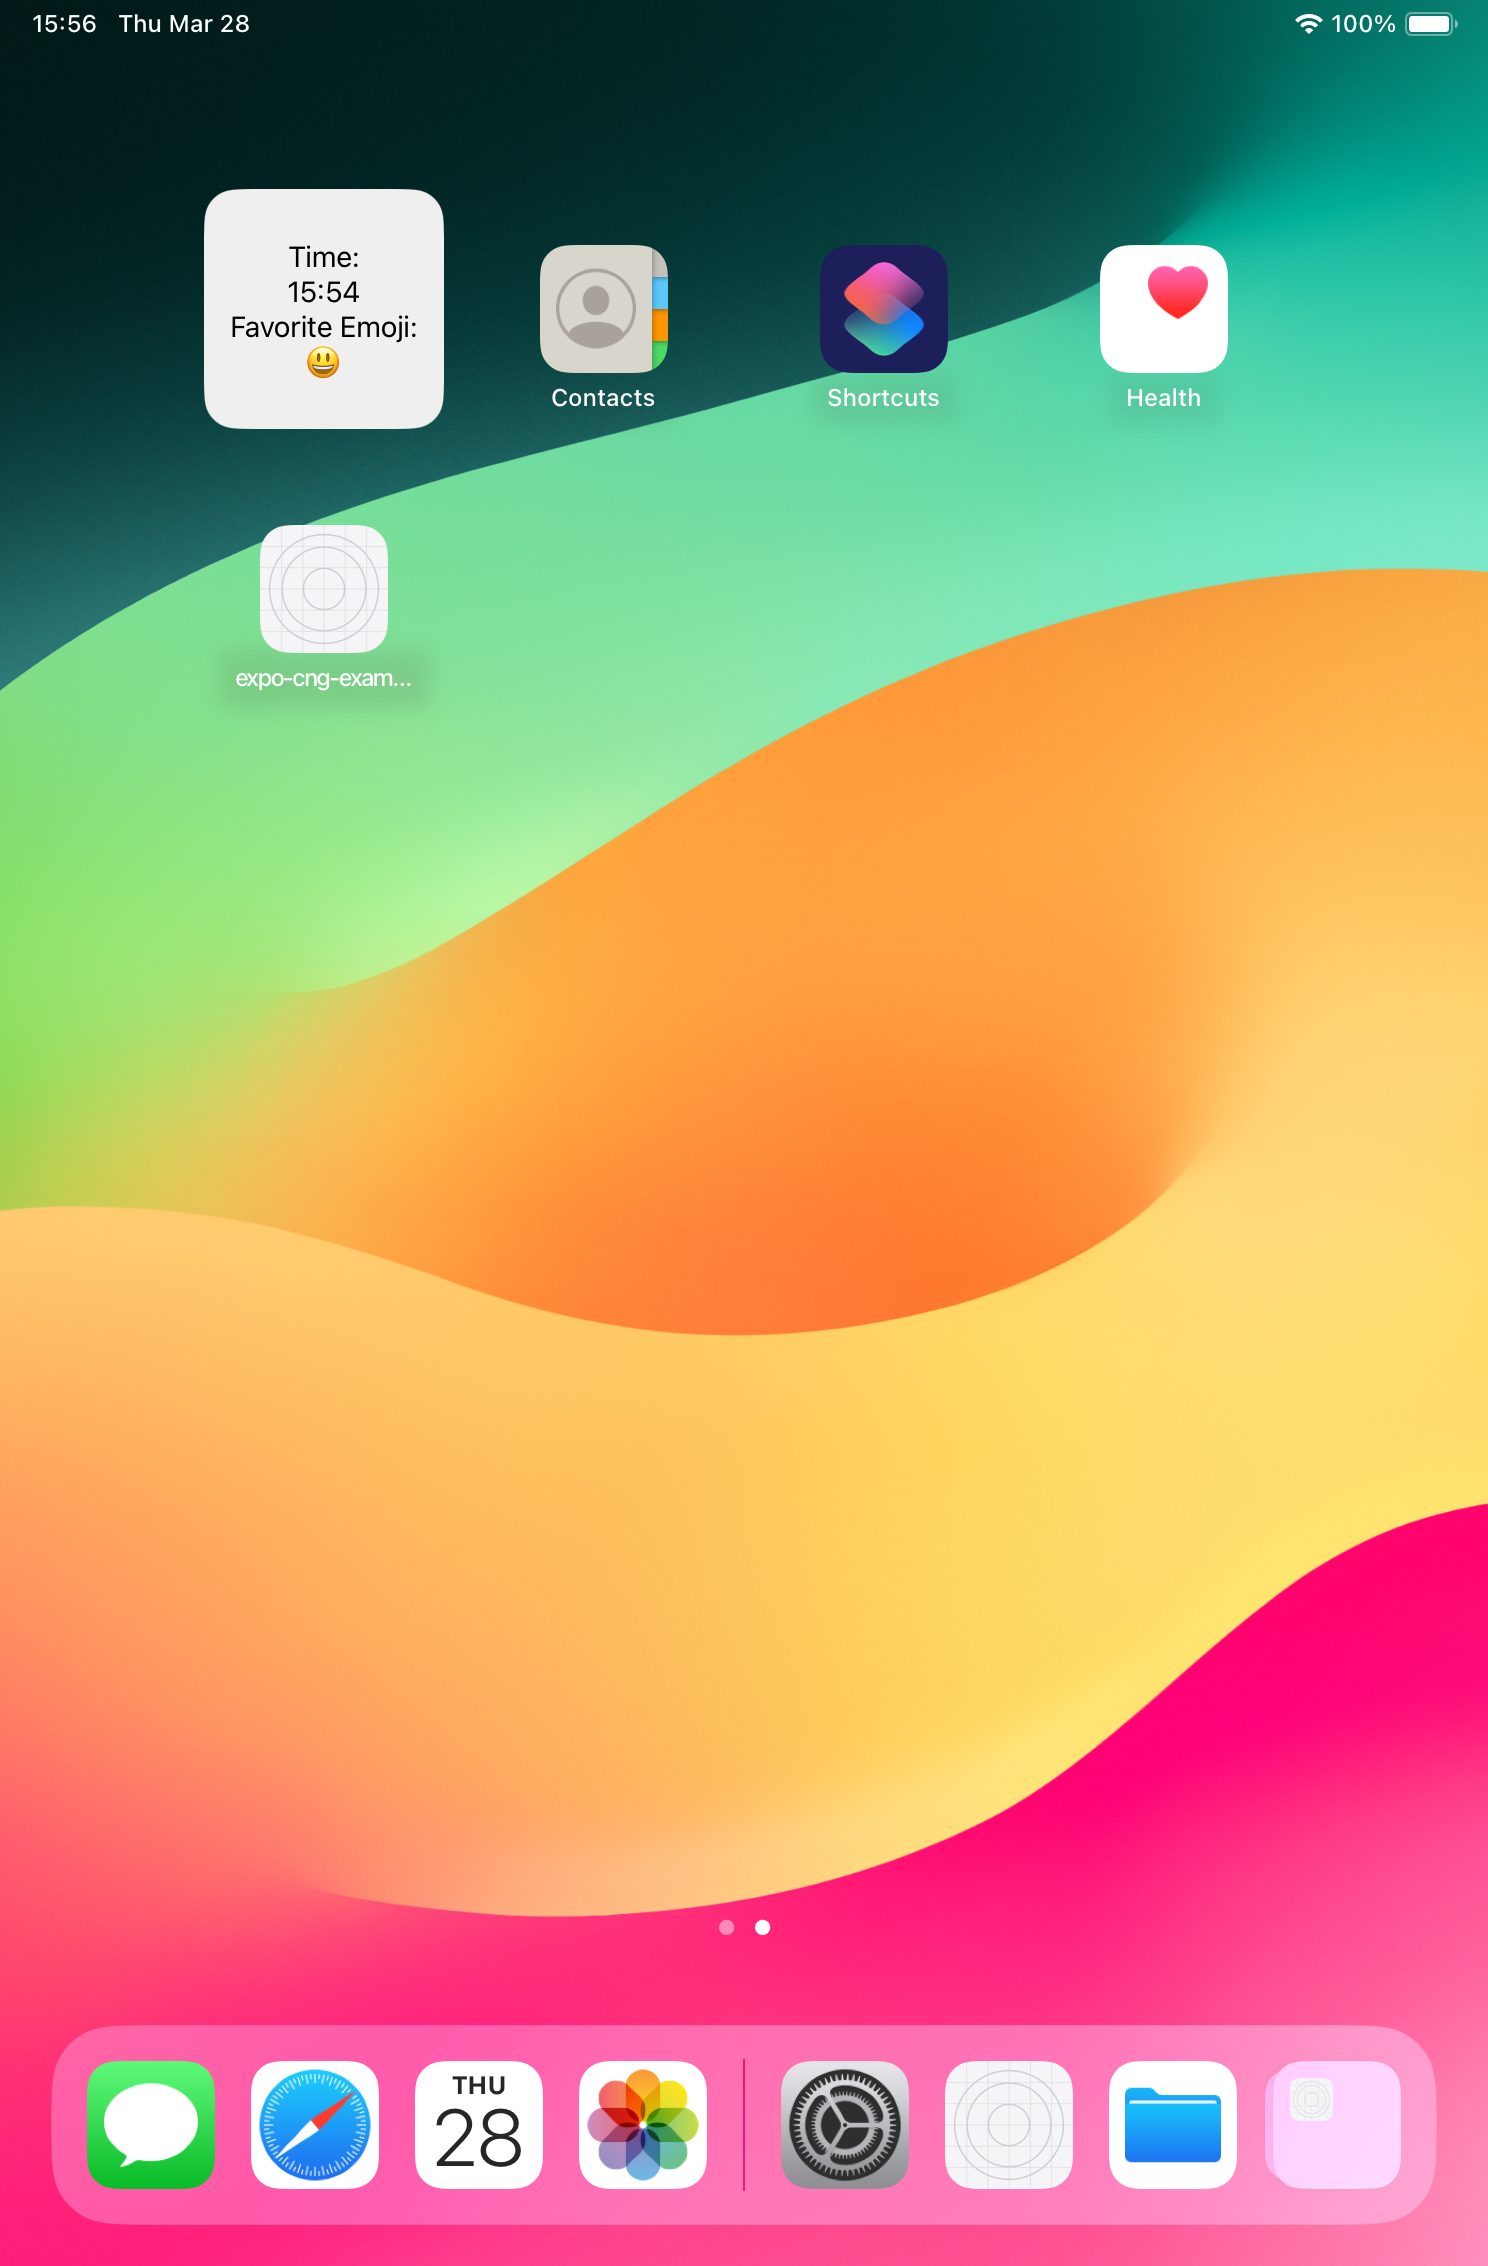

これで、React Native、Expo環境にて、Apple Widgetを開発することができるようになりました。
ただ、Apple Widgetを利用したいケースとして、アプリの情報を表示したいケースが多いと思いますので、JS側とネイティブ側の間で、データを共有し、本体アプリからデータを更新、Apple Widgetにてデータを反映・表示する実装をしていきたいと思います。
JS側(本体アプリ)とネイティブ側(Apple Widget)でデータを共有する(準備)
続いて、本体アプリとApple widget間でデータを同期する実装をしていきます。
JS・React Native側で設定したデータを、ネイティブで実装されたApple Widget側に反映させるために、Expo Modulesを使って、NSUserDefaultsにデータを格納し、共有するように実装します。
Note
NSUserDefaults: https://developer.apple.com/documentation/foundation/userdefaults今回は、本体アプリとウィジェット間でのデータ共有のため、UserDefaults.standardは利用できません。 UserDefaults(suiteName:)を使用して共有コンテナを作成し、データを共有する必要があります。
まず、Expo Moduleを簡単に作るために、create-expo-moduleというものを利用します。
$ npx create-expo-module --local

Need to install the following packages:
create-expo-module@0.6.7
Ok to proceed? (y) y

The local module will be created in the modules directory in the root of your project. Learn more: https://expo.fyi/expo-module-local-autolinking.md

✔ What is the name of the local module? … samplewidgetmodule
✔ What is the native module name? … Samplewidgetmodule
✔ What is the Android package name? … expo.modules.samplewidgetmodule

✔ Downloaded module template from npm
✔ Created the module from template files

✅ Successfully created Expo module in modules/samplewidgetmodule

You can now import this module inside your application.
For example, you can add this line to your App.js or App.tsx file:
import { hello } from './modules/samplewidgetmodule';

Learn more on Expo Modules APIs: https://docs.expo.dev/modules
Remember you need to rebuild your development client or reinstall pods to see the changes.
するとmodulesディレクトリが作成され、Expo Moduleの開発をすぐに始めることができます。
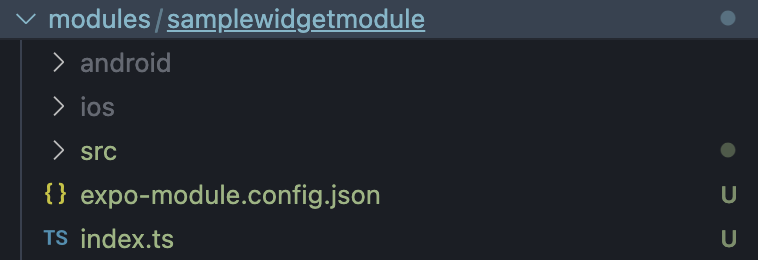
/tsconfig.json に、modules ディレクトリを追加しておきます。
{
  "extends": "expo/tsconfig.base",
  "compilerOptions": {
    "strict": true,
    "paths": {
      "local:*": ["./modules/*"]
    }
  }
}
JS側(本体アプリ)とネイティブ側(Apple Widget)でデータを共有する(実装)
Expo Moduleにて、JS側からデータをセットし、Apple widget側から呼び出せるような機構を実装します。
modules/samplewidgetmodule/ios/SamplewidgetmoduleModule.swift
import ExpoModulesCore

public class SamplewidgetmoduleModule: Module {
  public func definition() -> ModuleDefinition {

    Name("Samplewidgetmodule")

    Function("set") { (key: String, value: Int, group: String?) in
      let userDefaults = UserDefaults(

        suiteName: group
      )
      userDefaults?.set(value, forKey: key)

      if #available(iOS 14.0, *) {
          WidgetCenter.shared.reloadAllTimelines()
      }
    }
  }
}
modules/samplewidgetmodule/index.ts にて、上記で実装した関数をexportしておきます。
import SamplewidgetmoduleModule from './src/SamplewidgetmoduleModule';

export function set(key: string, value: string, group: string) {
  return SamplewidgetmoduleModule.set(key, value, group);
}
これで、下記のようにJS側からimportできるようになります。
import * as Samplewidgetmodule from 'local:samplewidgetmodule';
続いて、JS側からデータをセットする処理を実装します。
App.tsx にテキストを入力し、samplewidgetmoduleのsetを実行する処理を実装します。
import { StatusBar } from 'expo-status-bar';
import { StyleSheet, Text, TextInput, TouchableOpacity, View } from 'react-native';
import * as Samplewidgetmodule from 'local:samplewidgetmodule';

export default function App() {
  return (
    <View style={styles.container}>
      <Text>What's your favorite "Words"?</Text>
      <TextInput style={styles.textInput} onChangeText={async (text) => {
        await Samplewidgetmodule.set('Samplewidget', text, 'group.toyamani.data');
      } } />
      <StatusBar style="auto" />
    </View>
  );
}

const styles = StyleSheet.create({
  container: {
    flex: 1,
    backgroundColor: '#fff',
    alignItems: 'center',
    justifyContent: 'center',
  },
  textInput: {
    height: 40,
    width: 200,
    margin: 12,
    borderWidth: 1,
    padding: 10,
  }
});
再度に、Apple Widget側から、データを参照する処理を実装します。
targets/samplewidget/samplewidget.swift にて、実装します。
import WidgetKit
import SwiftUI

struct Provider: AppIntentTimelineProvider {
    func placeholder(in context: Context) -> SimpleEntry {
        let userDefaults = UserDefaults(suiteName: "group.toyamani.data")
        let favoriteEmoji = userDefaults?.string(forKey: "Samplewidget") ?? "No data"
        return SimpleEntry(date: Date(), configuration: ConfigurationAppIntent(), favoriteEmoji: favoriteEmoji)
    }

    func snapshot(for configuration: ConfigurationAppIntent, in context: Context) async -> SimpleEntry {
        let userDefaults = UserDefaults(suiteName: "group.toyamani.data")
        let favoriteEmoji = userDefaults?.string(forKey: "Samplewidget") ?? "No data"
        return SimpleEntry(date: Date(), configuration: configuration, favoriteEmoji: favoriteEmoji)
    }

    func timeline(for configuration: ConfigurationAppIntent, in context: Context) async -> Timeline<SimpleEntry> {
        var entries: [SimpleEntry] = []

        let currentDate = Date()
        let userDefaults = UserDefaults(suiteName: "group.toyamani.data")
        let favoriteEmoji = userDefaults?.string(forKey: "Samplewidget") ?? "No data"
        for hourOffset in 0 ..< 5 {
            let entryDate = Calendar.current.date(byAdding: .hour, value: hourOffset, to: currentDate)!
            let entry = SimpleEntry(date: entryDate, configuration: configuration, favoriteEmoji: favoriteEmoji)
            entries.append(entry)
        }

        return Timeline(entries: entries, policy: .atEnd)
    }

    func getTimeline(for configuration: ConfigurationAppIntent, in context: Context, completion: @escaping (Timeline<SimpleEntry>) -> Void) {
        let userDefaults = UserDefaults(suiteName: "group.toyamani.data")
        let favoriteEmoji = userDefaults?.string(forKey: "Samplewidget") ?? "No data"
        let entry = SimpleEntry(date: Date(), configuration: configuration, favoriteEmoji: favoriteEmoji)

        let timeline = Timeline(entries: [entry], policy: .atEnd)
        completion(timeline)
    }

}

struct SimpleEntry: TimelineEntry {
    let date: Date
    let configuration: ConfigurationAppIntent
    let favoriteEmoji: String
}

struct samplewidgetEntryView : View {
    @Environment(\.widgetFamily) var widgetFamily
    var entry: Provider.Entry

    var body: some View {
        switch self.widgetFamily {
        case .systemSmall:
            return AnyView(
                VStack (alignment: .leading){
                    VStack (alignment: .leading){
                    Text("Emoji:").font(.system(.headline, design: .monospaced))
                    Text(entry.configuration.favoriteEmoji)
                }

                VStack (alignment: .leading){
                    Text("Words:").font(.system(.headline, design: .monospaced))
                    Text(entry.favoriteEmoji)
                }
                }
            )
        default:
            return AnyView(
                VStack (alignment: .leading, spacing: 10){
                Text(entry.date, style: .time)


                VStack (alignment: .leading){
                    Text("Favorite")
                    .font((.system(.title, design: .monospaced)))
                    VStack (alignment: .leading){
                        HStack {
                        Text("Emoji:").font(.system(.headline, design: .monospaced))
                        Text(entry.configuration.favoriteEmoji)
                        }

                        HStack {
                        Text("Words:").font(.system(.headline, design: .monospaced))
                        Text(entry.favoriteEmoji)
                        }
                        }.padding(.leading, 10)
                    }
                }
            )
        }
    }
}

struct samplewidget: Widget {
    let kind: String = "samplewidget"

    var body: some WidgetConfiguration {
        AppIntentConfiguration(kind: kind, intent: ConfigurationAppIntent.self, provider: Provider()) { entry in
            samplewidgetEntryView(entry: entry)
                .containerBackground(.fill.tertiary, for: .widget)
        }
    }
}

extension ConfigurationAppIntent {
    fileprivate static var smiley: ConfigurationAppIntent {
        let intent = ConfigurationAppIntent()
        intent.favoriteEmoji = "😀"
        return intent
    }

    fileprivate static var starEyes: ConfigurationAppIntent {
        let intent = ConfigurationAppIntent()
        intent.favoriteEmoji = "🤩"
        return intent
    }
}
App Groupを利用するので、利用するApp Group名を、Xcodeにて設定しておきます。


これで、アプリ側から入力した文字がウィジェットに反映されるようになりました。


まとめ
Expo・React Nativeで実装しているアプリに、App Extension(今回はWidget)の実装を加えることできました。
普段、Expo・React Native環境で開発しているので、Swiftでの開発をする部分が不安でしたが、Apple Developerのドキュメントを見ながら実装できました。
ただ、普段のExpo, React Nativeでの開発では、Xcodeを開くことなく開発を行うので、Xcodeでのビルド作成などで発生するエラーに慣れておらず、かなり苦戦しました。
とはいえ、expo-apple-targetsのおかげで、App Extensionを簡単に開発する土台ができました。
次回は、Apple Watch向けアプリも実装してみようと思います。
参考記事
