Table of Contents
Expo(React native)環境でapple watch アプリを実装する
前回
前回、下記の記事で、Expoプロジェクト内でApple Widgetを実装しました。
ExpoのContinuous Native Generationの考え方に基づき、ネイティブの機能を、/ios ディレクトリ配下で実装せずに、expo-apple-targetを利用して/target配下で実装することによって、Expoの開発体験を損なわずに、Apple Widgetの実装を行うことができました。

今回作ったもの
今回も、引き続きexpo-apple-targetを利用して/target配下Expoのプロジェクト内で、Apple Watchアプリの実装を行いました。
Note
Apple Watchアプリは、Swiftで実装した静的なビューを描画しているだけで、今回は、実際に温度データを取得して描画するようなことはしていません。
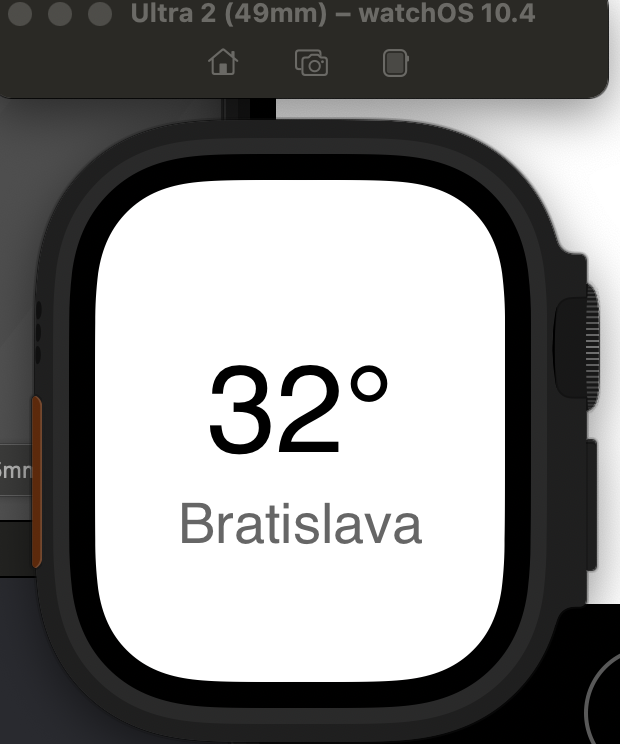
開発環境
PC:Macbook M2 (14.3.1)
Xcode:15.3
Apple Watch:10.4
iOS:17.2
Apple Watch アプリを作る準備をする
Expoのプロジェクトを作成するところまでは、前回の記事同様ですので、今回はその先から解説していきます。
今回も下記のライブラリを利用します。
下記コマンドを実行します。
npm install @bacons/apple-targets
./app.jsonに設定をプラグイン設定を追加します。
"plugins": [
      [
        "@bacons/apple-targets",
        {
          "teamId": "XXXXXXXXX"
        }
      ]
    ]
./targets/watch-app/expo-target.config.js に設定を追加します。
/** @type {import('@bacons/apple-targets').Config} */
module.exports = {
  type: "watch",
  icon: "https://upload.wikimedia.org/wikipedia/commons/thumb/e/e1/FullMoon2010.jpg/1200px-FullMoon2010.jpg",
  colors: {
    $accent: "steelblue",
  },
  deploymentTarget: "9.4",
};
設定が完了したら、prebuildを実施します。
$ npx expo prebuild
prebuildを実施すると、./ios 配下に、Xcodeプロジェクトファイルが生成されます。
これをXcodeで開きます。(workspaceでも良いです)
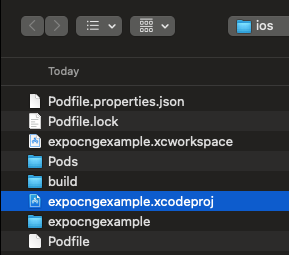
開くと、expo:targets配下に、watch-app ディレクトリが表示され、このディレクトリでApple Watchアプリの開発を行うことができます。
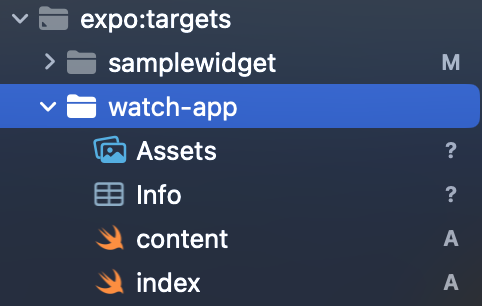
これで、開発準備は完了です。
Apple Watchアプリ を実装する
“Hello, World”を表示
ここからは、SwiftでApple Widgetを実装していきます。
Apple Watchアプリ の開発は、Apple Developerドキュメントが参考になります。

ひとまずApple Watchで、”Hello, World”を表示します。(この記事では、Swiftの実装についての解説は省略します。)
targets/watch-app/index.swift
import SwiftUI

@main
struct watchEntry: App {
    var body: some Scene {
        WindowGroup {
            ContentView()
        }
    }
}
targets/watch-app/content.swift
import SwiftUI

struct ContentView: View {
    var body: some View {
        VStack {
            Image(systemName: "globe")
                .imageScale(.large)
                .foregroundColor(.accentColor)
            Text("Hello, world!")
        }
        .padding()
    }
}

struct ContentView_Previews: PreviewProvider {
    static var previews: some View {
        ContentView()
    }
}
プレビューすることができました。
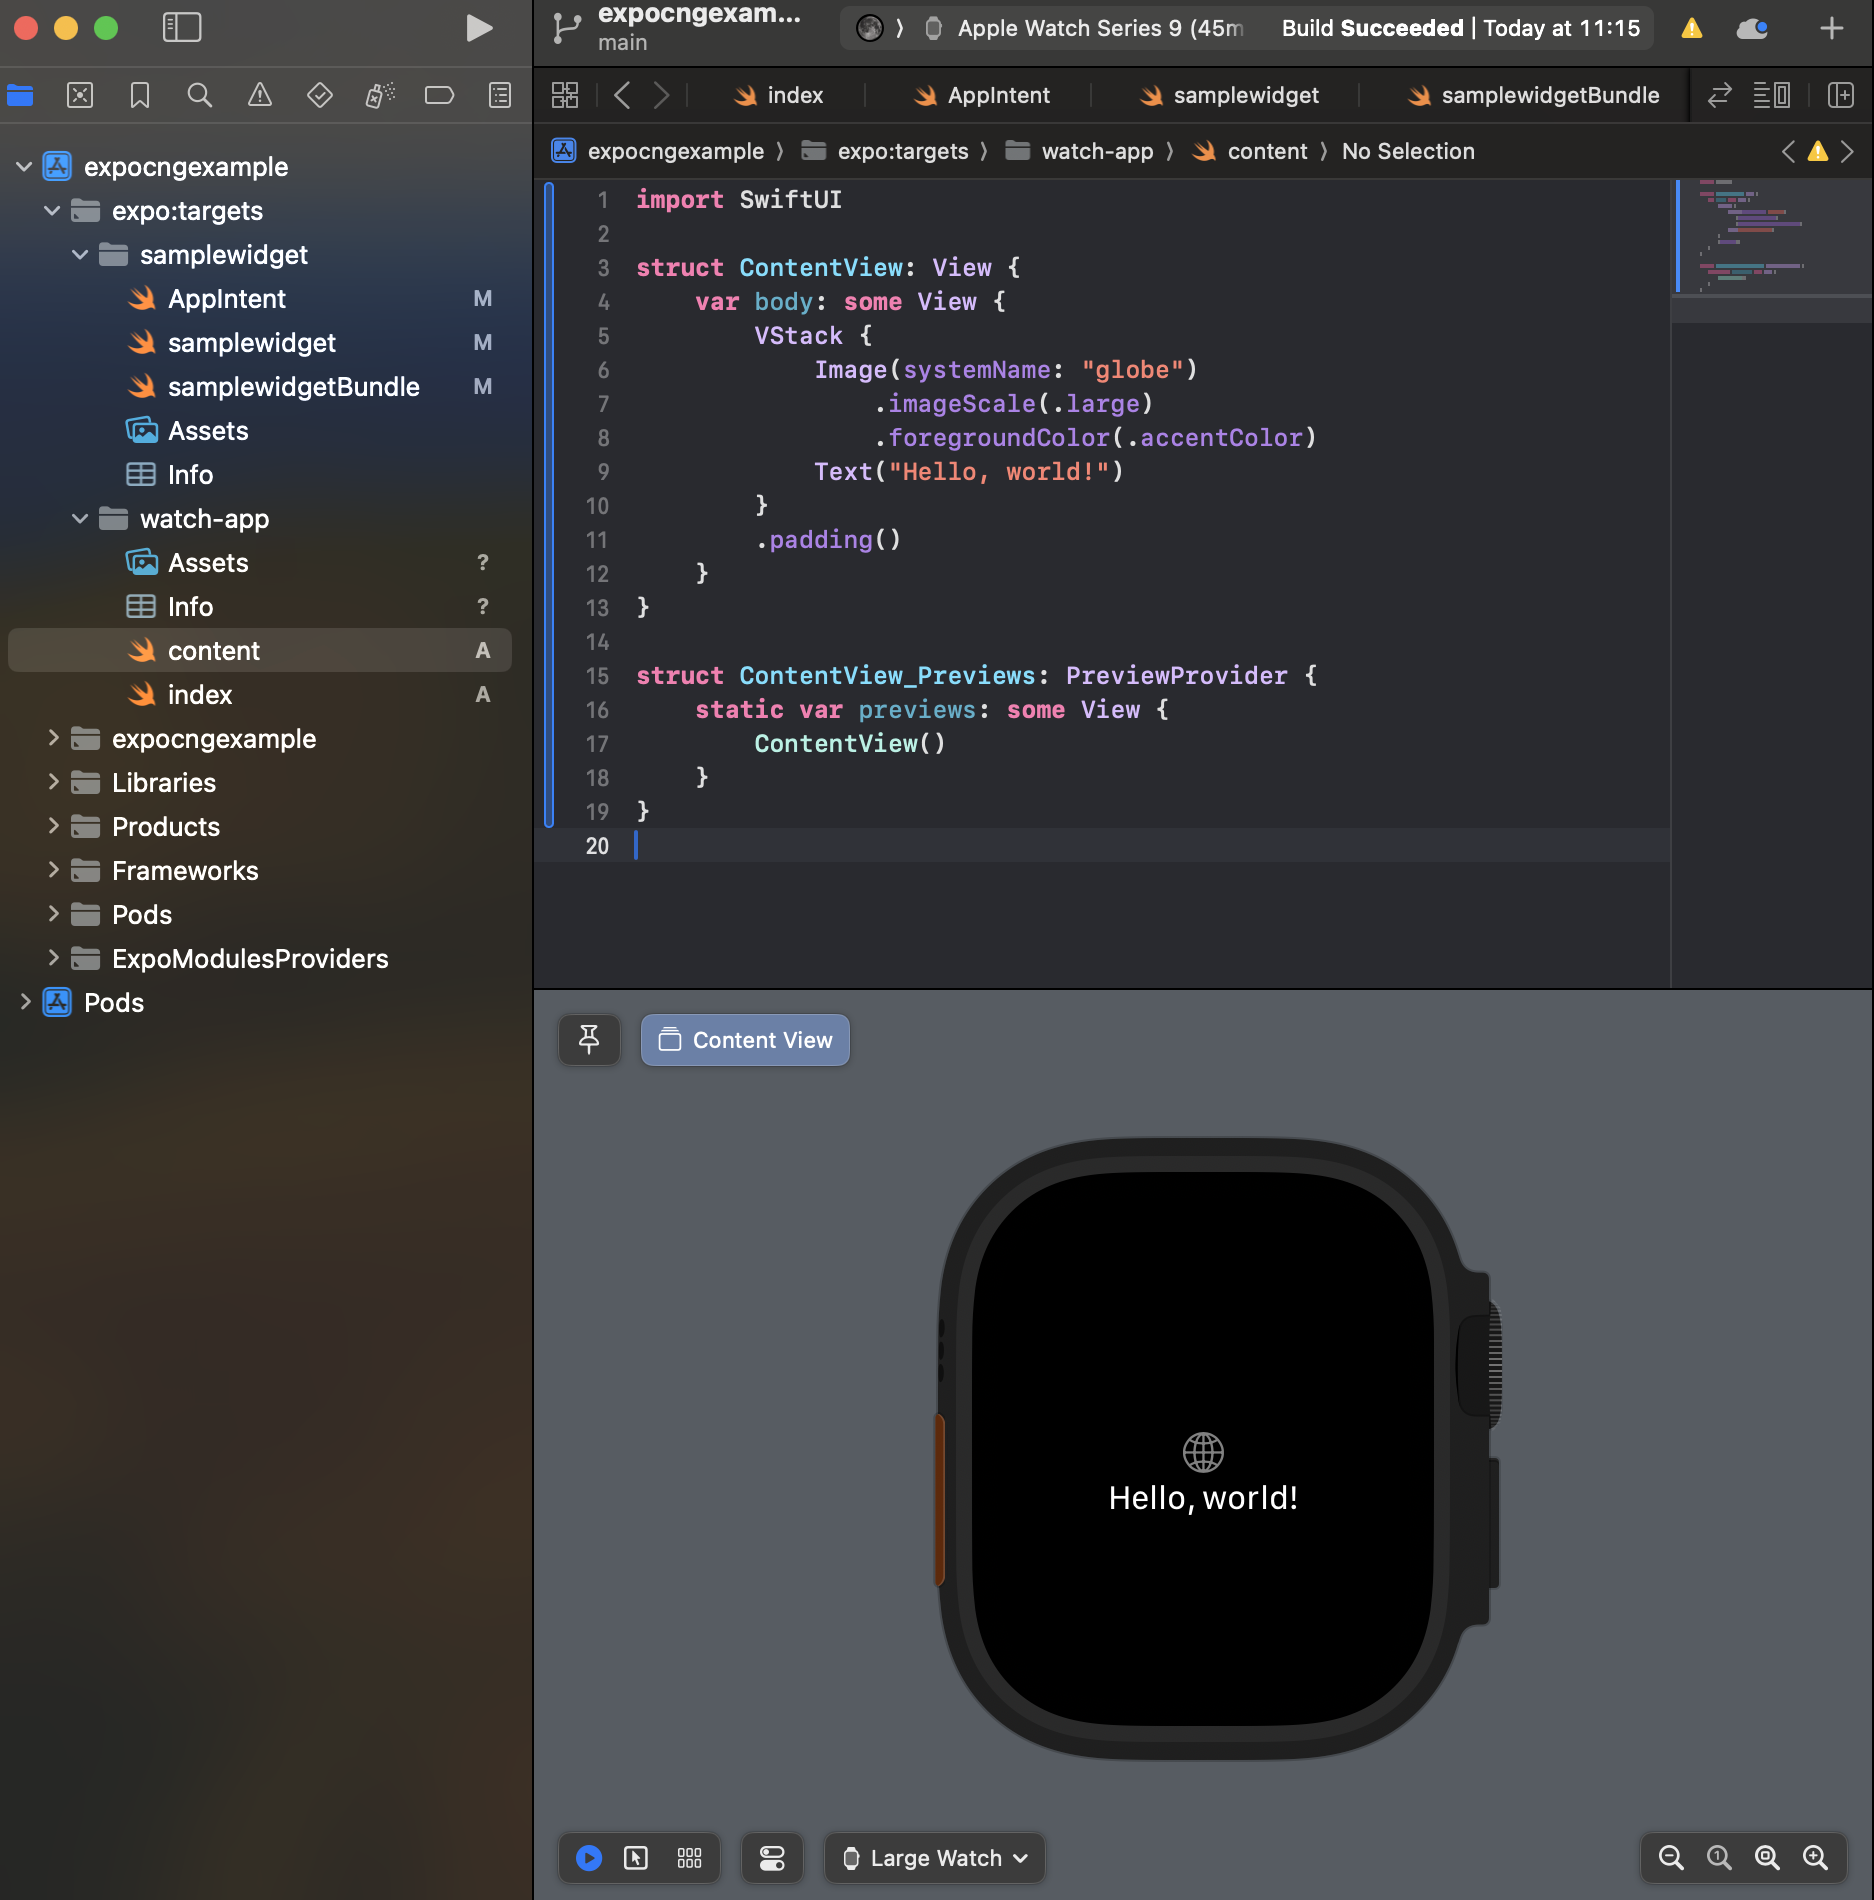
yarn start (npm run start) を実行後、Xcodeから、iOSアプリ、watchOSアプリを起動することによって、シュミレーターでも動かすことができます。
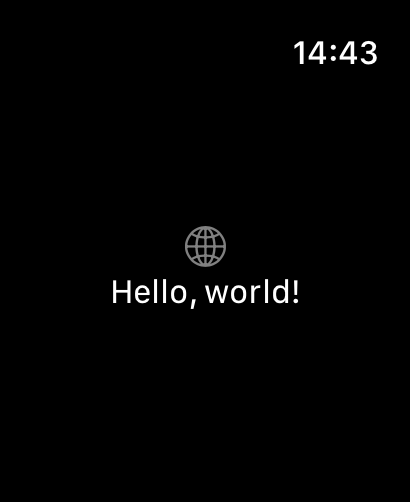
これで、Expo、React Native環境内で、Apple Watchアプリが動くようになりました。
また、下記を参考にして、実機でも確認できるようになりました。

Tip
実機のApple WatchがXcodeから認識されず、苦労しましたが、Xcodeを最新版(15.3)にアップデートすると、認識されるようになりました。
Figma でApple Watchアプリデザイン
今回は、いきなりApple Watch画面を実装していくのではなく、Figmaのデザインデータを利用して実装してみようと思います。
Figmaには、Apple Watchの便利なUIキットがいくつかあります。
今回は、下記のUIキットのデータをお借りします。
FigmaからSwiftのコードを生成するプラグインがあるので、利用してみます。
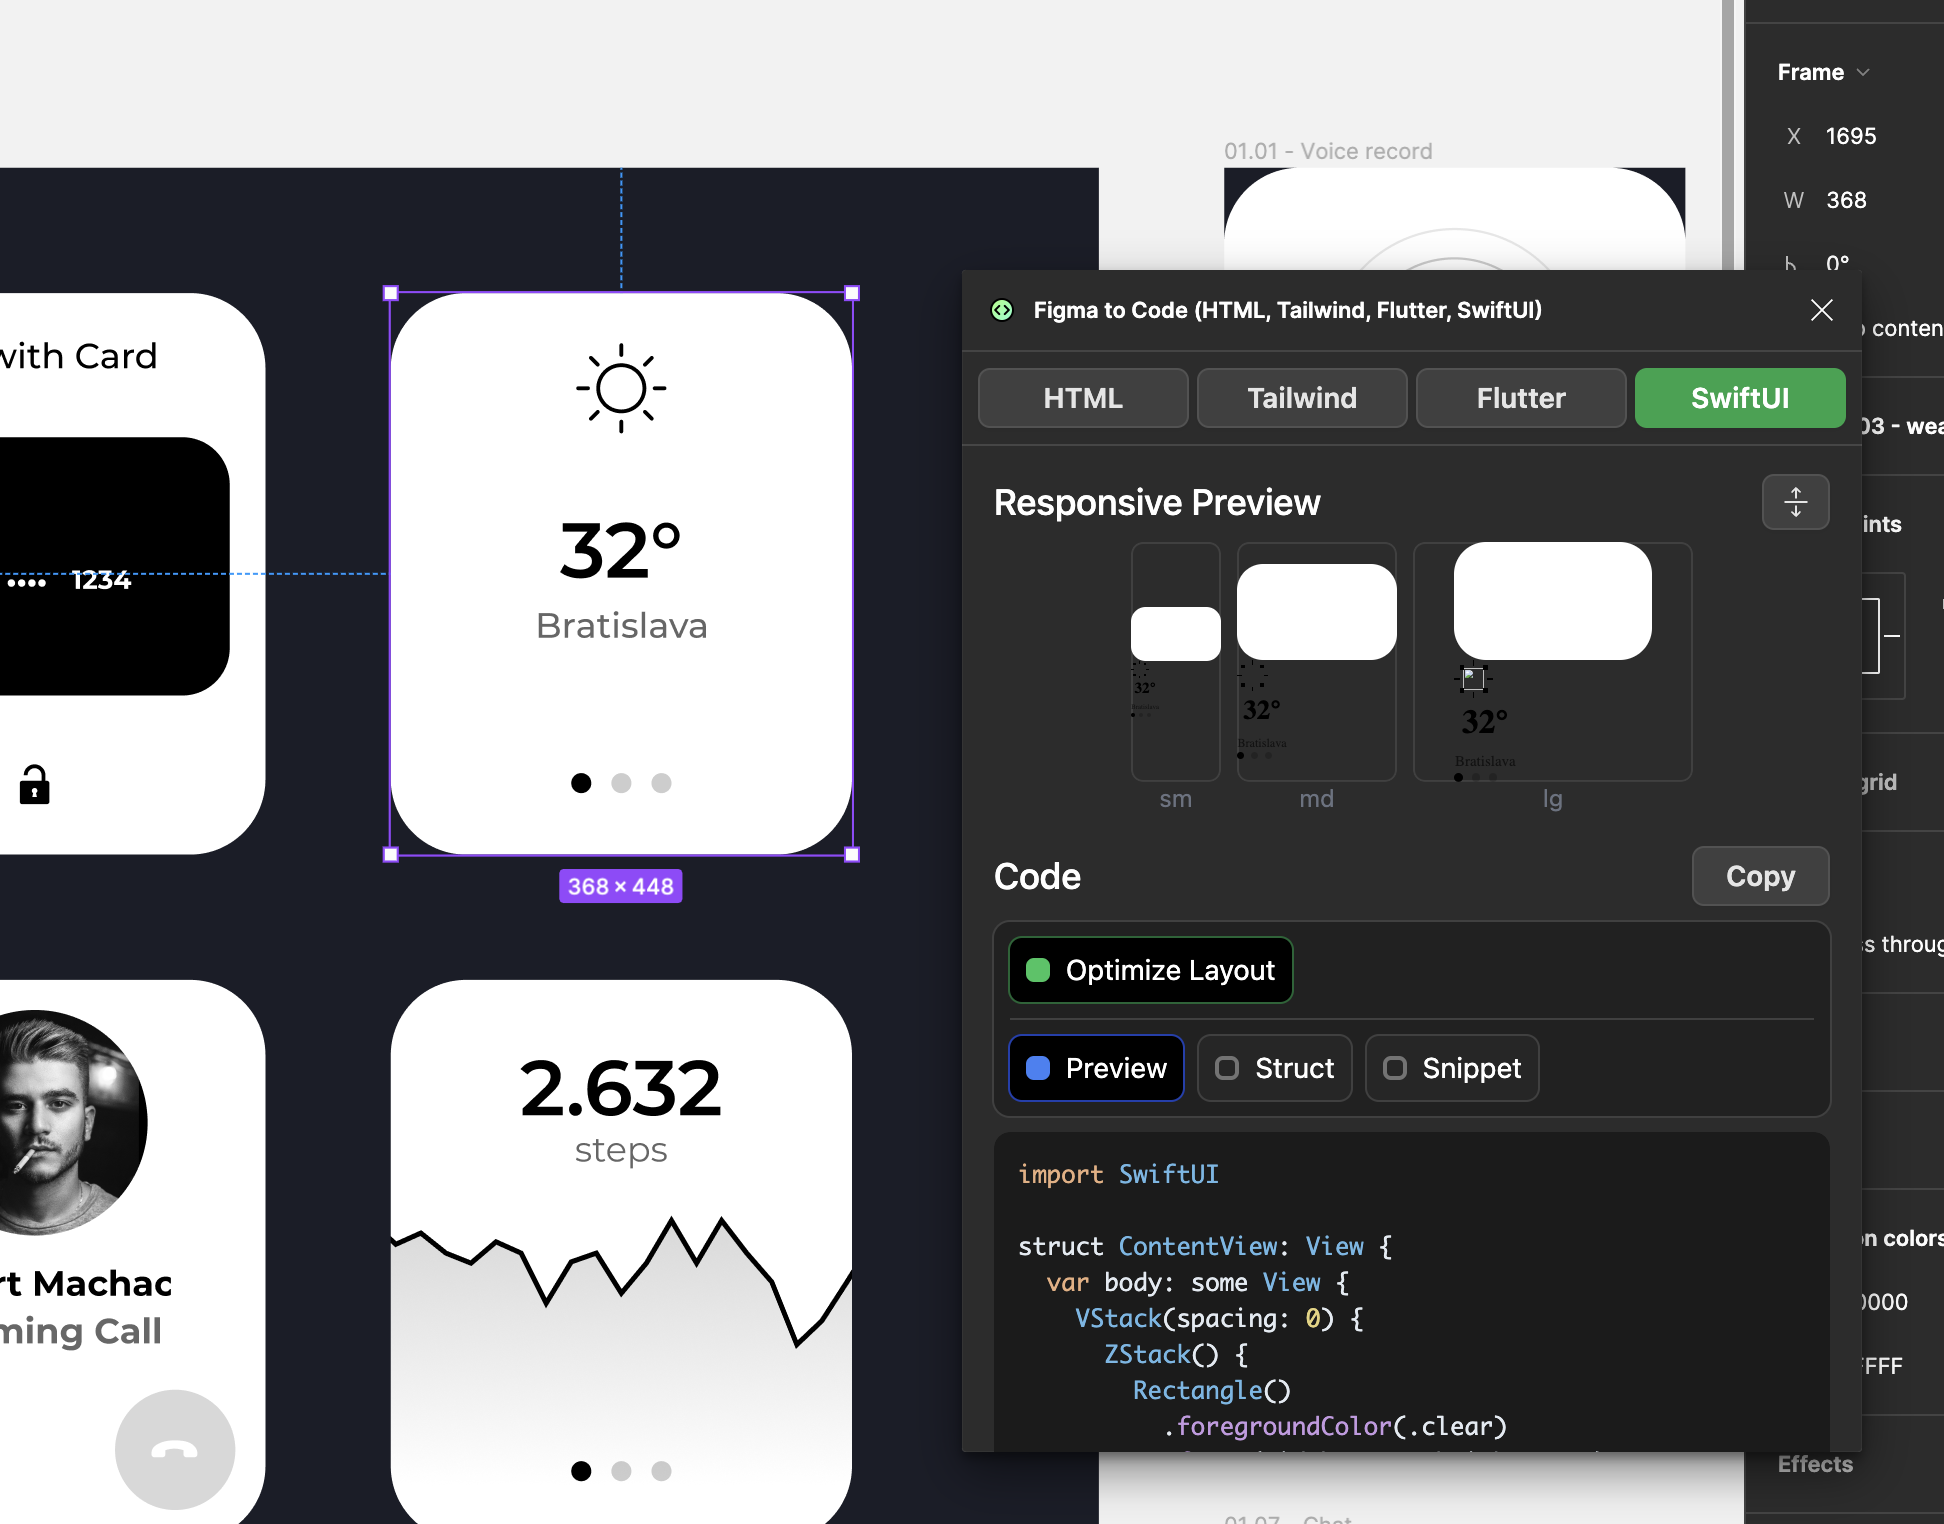
生成されたコードは下記です。
import SwiftUI

struct ContentView: View {
  var body: some View {
    VStack(spacing: 0) {
      ZStack() {
        Rectangle()
          .foregroundColor(.clear)
          .frame(width: 368, height: 448)
          .background(.white)
          .cornerRadius(60)
        HStack(spacing: 0) {
          ZStack() {
            Rectangle()
              .foregroundColor(.clear)
              .frame(width: 39.90, height: 39.90)
              .background(
                AsyncImage(url: URL(string: "https://via.placeholder.com/40x40"))
              )
              .offset(x: -0, y: -0)
          }
          .frame(width: 71.91, height: 71.91)
        }
        .padding(EdgeInsets(top: 0, leading: 0, bottom: 0.09, trailing: 0.09))
        .frame(width: 72, height: 72)
        VStack(spacing: 5) {
          Text("32°")
            .font(Font.custom("Montserrat", size: 62).weight(.semibold))
            .foregroundColor(.black)
          Text("Bratislava")
            .font(Font.custom("Montserrat", size: 28).weight(.medium))
            .foregroundColor(.black)
            .opacity(0.60)
        }
        .padding(EdgeInsets(top: 0, leading: 1, bottom: 0, trailing: 0))
        HStack(spacing: 0) {
          ZStack() {
            Ellipse()
              .foregroundColor(.clear)
              .frame(width: 16, height: 16)
              .background(.black)
              .offset(x: -32, y: 0)
            Ellipse()
              .foregroundColor(.clear)
              .frame(width: 16, height: 16)
              .background(.black)
              .offset(x: 0, y: 0)
              .opacity(0.20)
            Ellipse()
              .foregroundColor(.clear)
              .frame(width: 16, height: 16)
              .background(.black)
              .offset(x: 32, y: 0)
              .opacity(0.20)
          }
          .frame(width: 80, height: 16)
        }
        .frame(width: 80, height: 16)
      }
      .frame(width: 368, height: 448)
    }
    .frame(width: 368, height: 448);
  }
}

struct ContentView_Previews: PreviewProvider {
  static var previews: some View {
    ContentView()
  }
}
これをそのまま実行すると下記になりました。
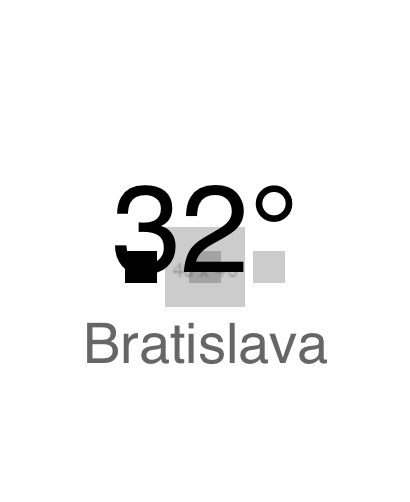
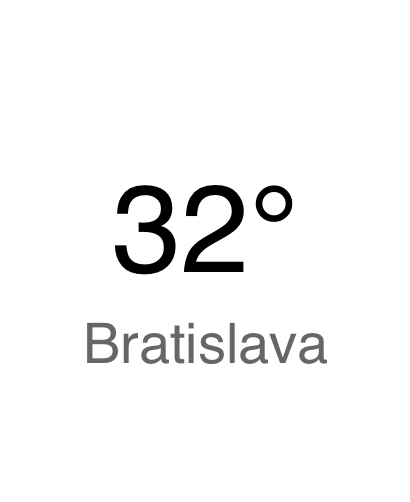
表示が崩れたりフォントが違ったりしてますが、今回は、そこがメインではないので、簡単な調整に留めます。
調整したコードとスクリーンショットは下記になります。
import SwiftUI

struct ContentView: View {
  var body: some View {
    VStack(spacing: 0) {
      ZStack() {
        Rectangle()
          .foregroundColor(.clear)
          .frame(width: 368, height: 448)
          .background(.white)
          .cornerRadius(60)
        VStack(spacing: 5) {
          Text("32°")
            .font(Font.custom("Montserrat", size: 62).weight(.semibold))
            .foregroundColor(.black)
          Text("Bratislava")
            .font(Font.custom("Montserrat", size: 28).weight(.medium))
            .foregroundColor(.black)
            .opacity(0.60)
        }
        .padding(EdgeInsets(top: 0, leading: 1, bottom: 0, trailing: 0))
      }
      .frame(width: 368, height: 448)
    }
    .frame(width: 368, height: 448)
  }
}

struct ContentView_Previews: PreviewProvider {
  static var previews: some View {
    ContentView()
  }
}
実機でもシミュレータでも動かすことが出来ました。

まとめ
Expo・React Nativeで実装しているアプリに、watchOSアプリを加えることできました。 また、おまけではありましたが、Figmaのデザインからコードを生成して実装も試してみることができました。
expo-apple-targetsのおかげで、App Extensionsを簡単に開発する土台ができ、Apple Widget、Apple Watch向けアプリも実装できたので、次回は、Apple Watchに通知を送ったり、他のApp ExtensionsやAndroid特有の機能、ウィジェットからディープリンクを利用したアプリ内の指定した画面へのキックなどをやってみたいなと思ってます。
参考記事
expo-apple-targets
Apple Watch(watchOS)
