Table of Contents
8月からmockmockチームにjoinして、これまで以上にデバイスと仲良くなろうと思っている岡嵜です。
デバイスを動かすのはワクワクしますが、泥臭い処理をコーディングするのはあまり好きではありません。
また、はんだ付けやブレッドボードでの配線は嫌いではありませんが、時間がかかったり不具合の原因の切り分けに時間がかかるのは辛いです。
そこで、今年新登場した「M5StickC」を購入して遊んでみることにしました。
M5StickCとは

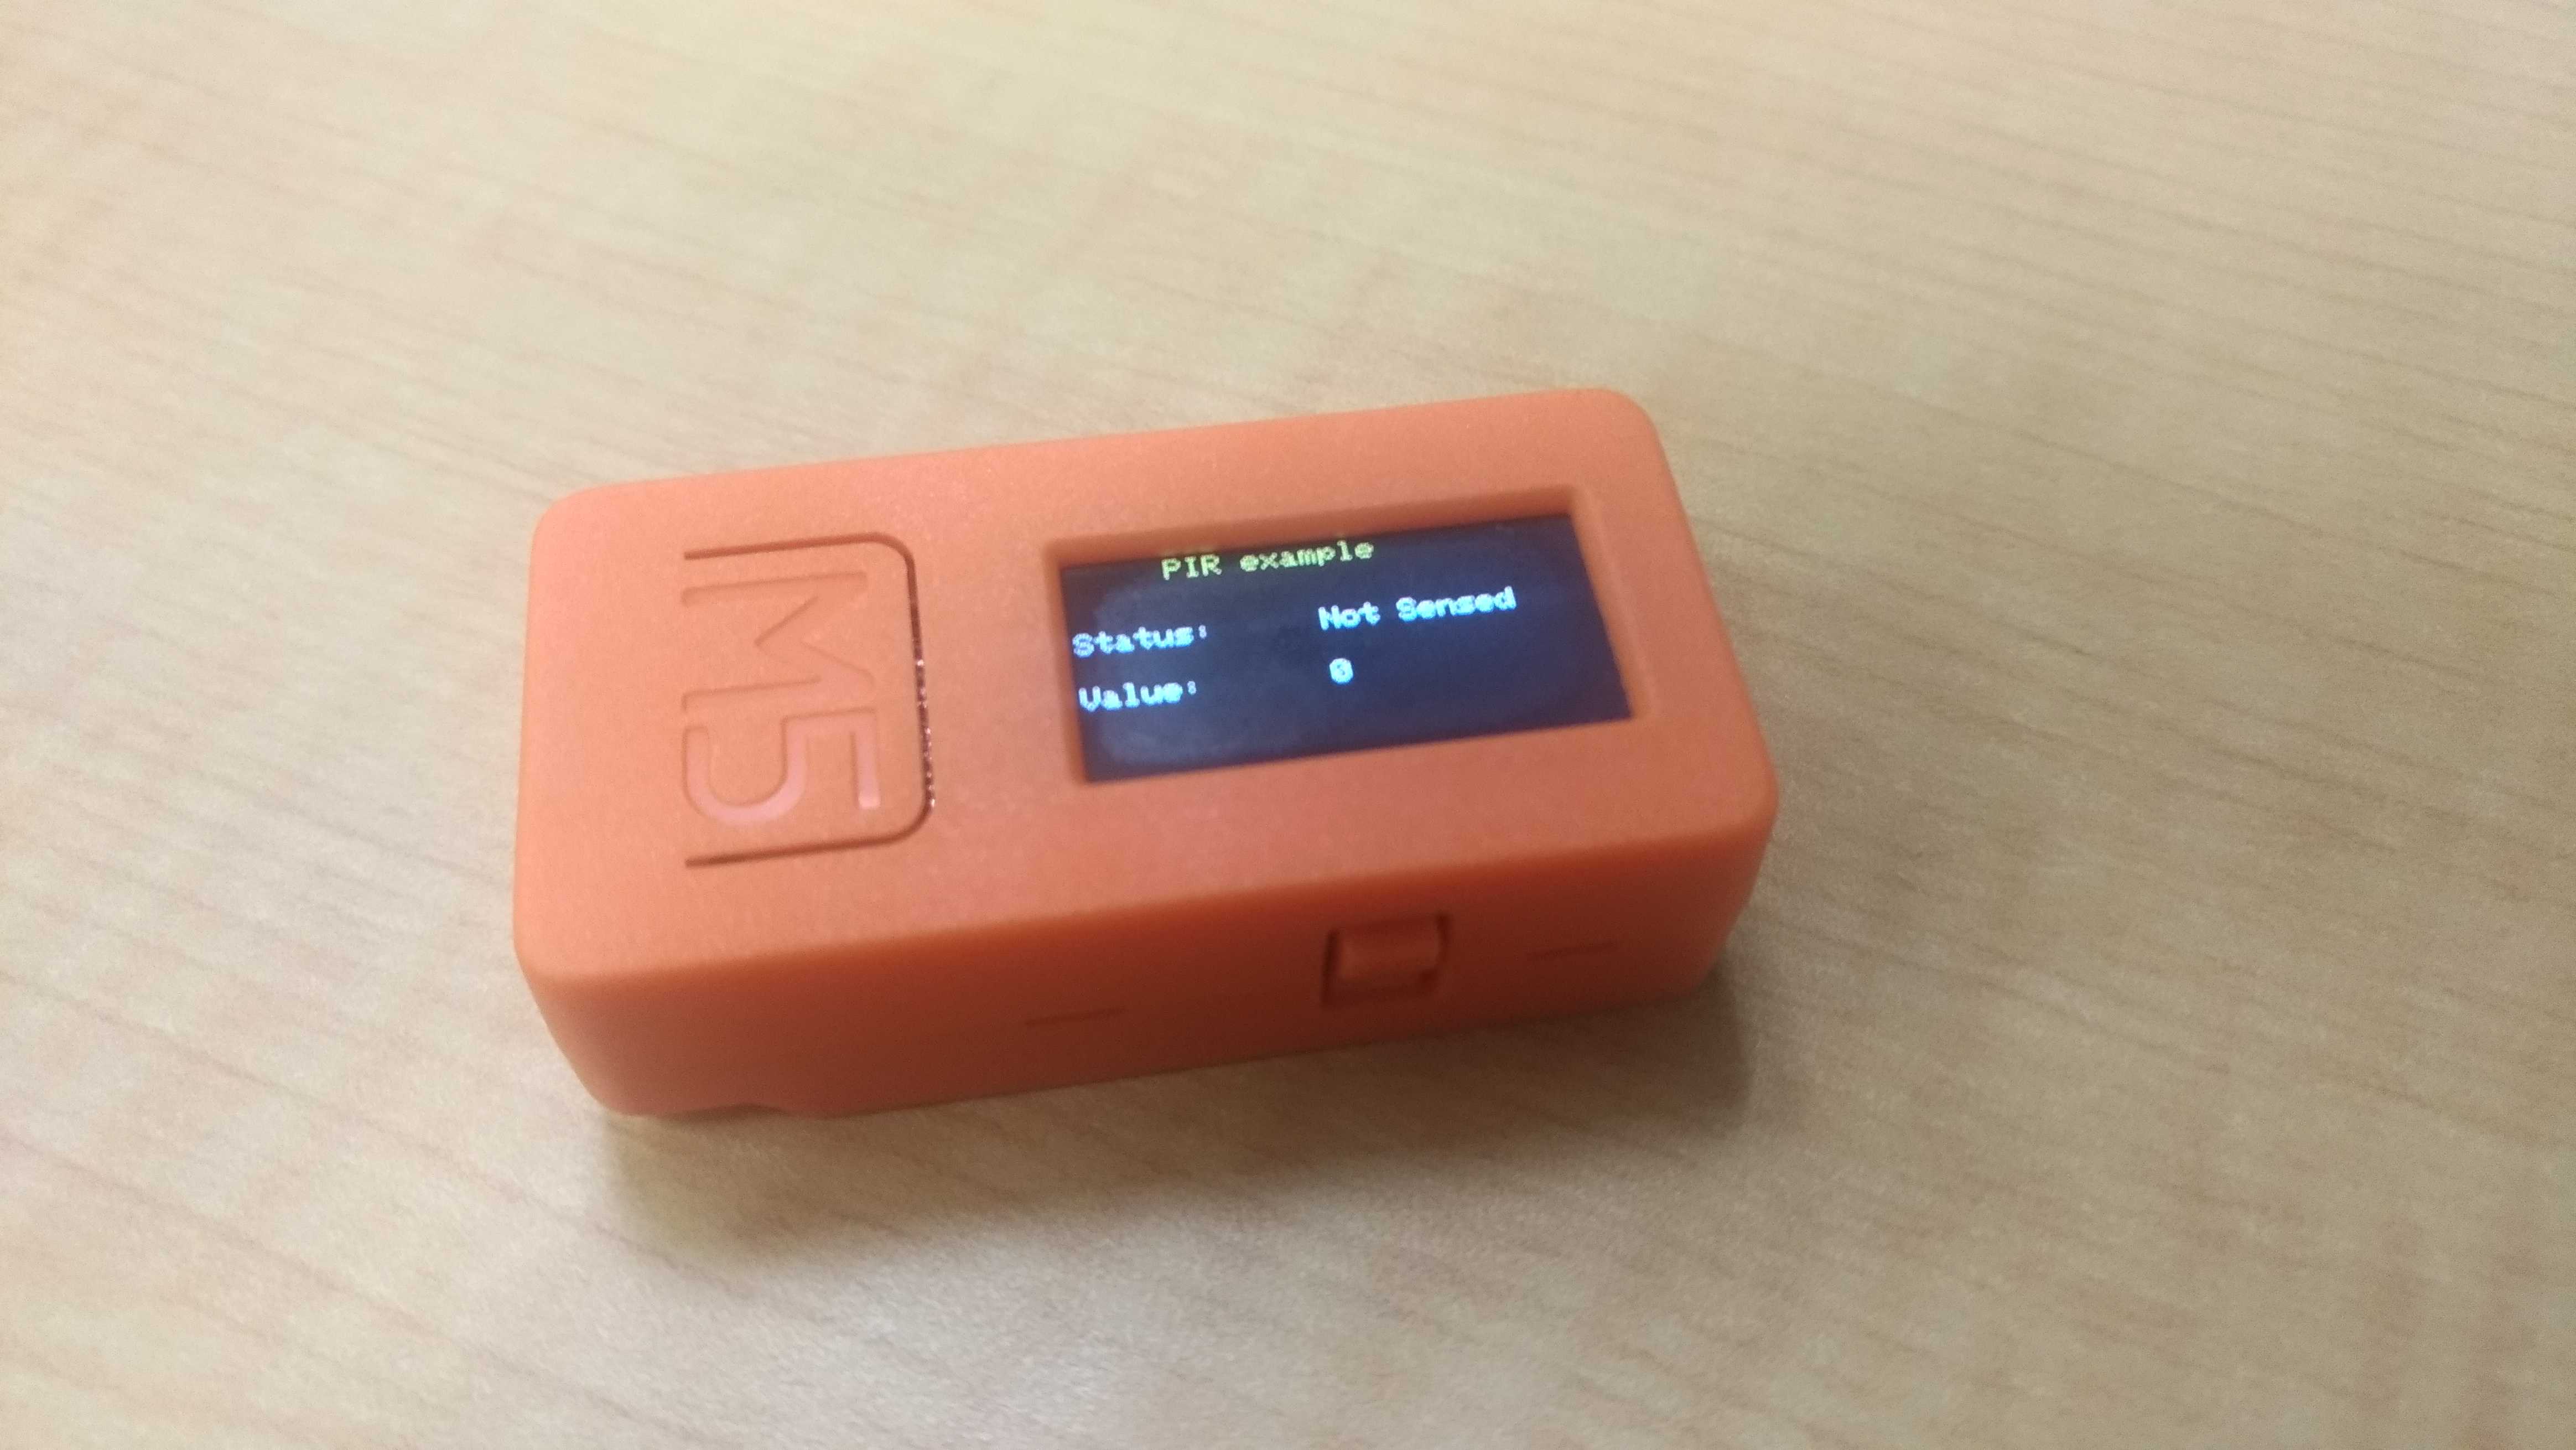
M5StickCとはESP32やスイッチ、LCDディスプレイを搭載した開発ボードです。
元々はM5Stackという同じくESP32を搭載した開発ボードが存在しており、M5Stackの小型版としてM5StickCが発売されました。
開発環境の構築
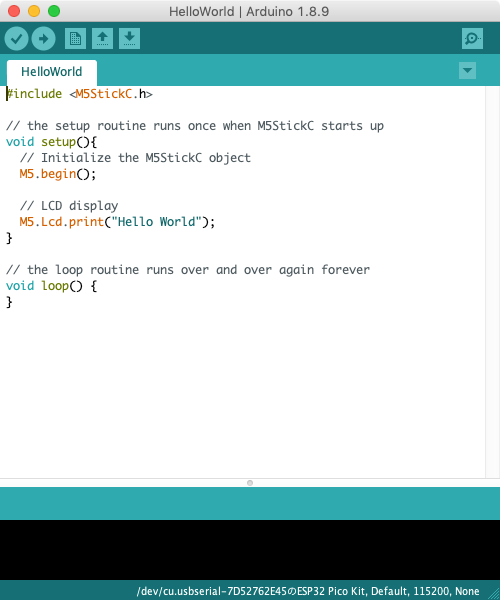
公式のドキュメントに沿って、M5StickCとPCを接続し、PC上で起動したArduino IDEでプログラムをコンパイルし書き込みます。
※Mac版は英語しか存在しないようです。
デバイスのプログラミングはC言語(厳密にはC言語と似た言語)を扱うこととなりますが、M5StickCのライブラリに予めサンプルプログラムが用意されているのでとても簡単です。

PIR Hatを動かしてみる
すでに、M5StickCと簡単に接続できるセンサモジュールが多数発売されています。
今回、その中の一つである「PIR Hat」を購入しました。
プログラムはサンプルプログラムをそのまま使うことにしました。
「ファイル」→「スケッチ例」→「M5StickC」→「Hat」→「PIR」
#include <M5StickC.h>

void setup() {
  M5.begin();
  M5.Lcd.setRotation(3);
  M5.Lcd.setTextColor(YELLOW);
  M5.Lcd.setCursor(30, 0);
  M5.Lcd.println("PIR example");
  Serial.println("PIR example: ");
  M5.Lcd.setCursor(65, 10);
  M5.Lcd.setTextColor(WHITE);
  pinMode(33, INPUT);
}

void loop() {
  M5.Lcd.setCursor(0,25); M5.Lcd.print("Status: ");
  M5.Lcd.setCursor(0,45); M5.Lcd.print("Value: ");

  M5.Lcd.fillRect(75,25,200,25,BLACK);
  M5.Lcd.fillRect(75,45,200,25,BLACK);

  if(digitalRead(33)==1){
    M5.Lcd.setCursor(75, 25);M5.Lcd.print("Sensing");
    M5.Lcd.setCursor(75, 45);M5.Lcd.print("1");
    Serial.println("PIR Status: Sensing");
    Serial.println(" value: 1");
  }
  else{
    M5.Lcd.setCursor(75, 25);M5.Lcd.print("Not Sensed");
    M5.Lcd.setCursor(75, 45);M5.Lcd.print("0");
    Serial.println("PIR Status: Not Sensed");
    Serial.println(" value: 0");
  }
  delay(500);
  M5.update();
}
しかし、残念ながら動作しません。
プログラムを見てみるとPinの番号が誤っている事に気づきました。これを修正して書き込んでみます。
#include <M5StickC.h>

void setup() {
  M5.begin();
  M5.Lcd.setRotation(3);
  M5.Lcd.setTextColor(YELLOW);
  M5.Lcd.setCursor(30, 0);
  M5.Lcd.println("PIR example");
  Serial.println("PIR example: ");
  M5.Lcd.setCursor(65, 10);
  M5.Lcd.setTextColor(WHITE);
  pinMode(36, INPUT); // 33→36に修正
}

void loop() {
  M5.Lcd.setCursor(0,25); M5.Lcd.print("Status: ");
  M5.Lcd.setCursor(0,45); M5.Lcd.print("Value: ");

  M5.Lcd.fillRect(75,25,200,25,BLACK);
  M5.Lcd.fillRect(75,45,200,25,BLACK);

  if(digitalRead(36)==1){  // 33→36に修正
    M5.Lcd.setCursor(75, 25);M5.Lcd.print("Sensing");
    M5.Lcd.setCursor(75, 45);M5.Lcd.print("1");
    Serial.println("PIR Status: Sensing");
    Serial.println(" value: 1");
  }
  else{
    M5.Lcd.setCursor(75, 25);M5.Lcd.print("Not Sensed");
    M5.Lcd.setCursor(75, 45);M5.Lcd.print("0");
    Serial.println("PIR Status: Not Sensed");
    Serial.println(" value: 0");
  }
  delay(500);
  M5.update();
}
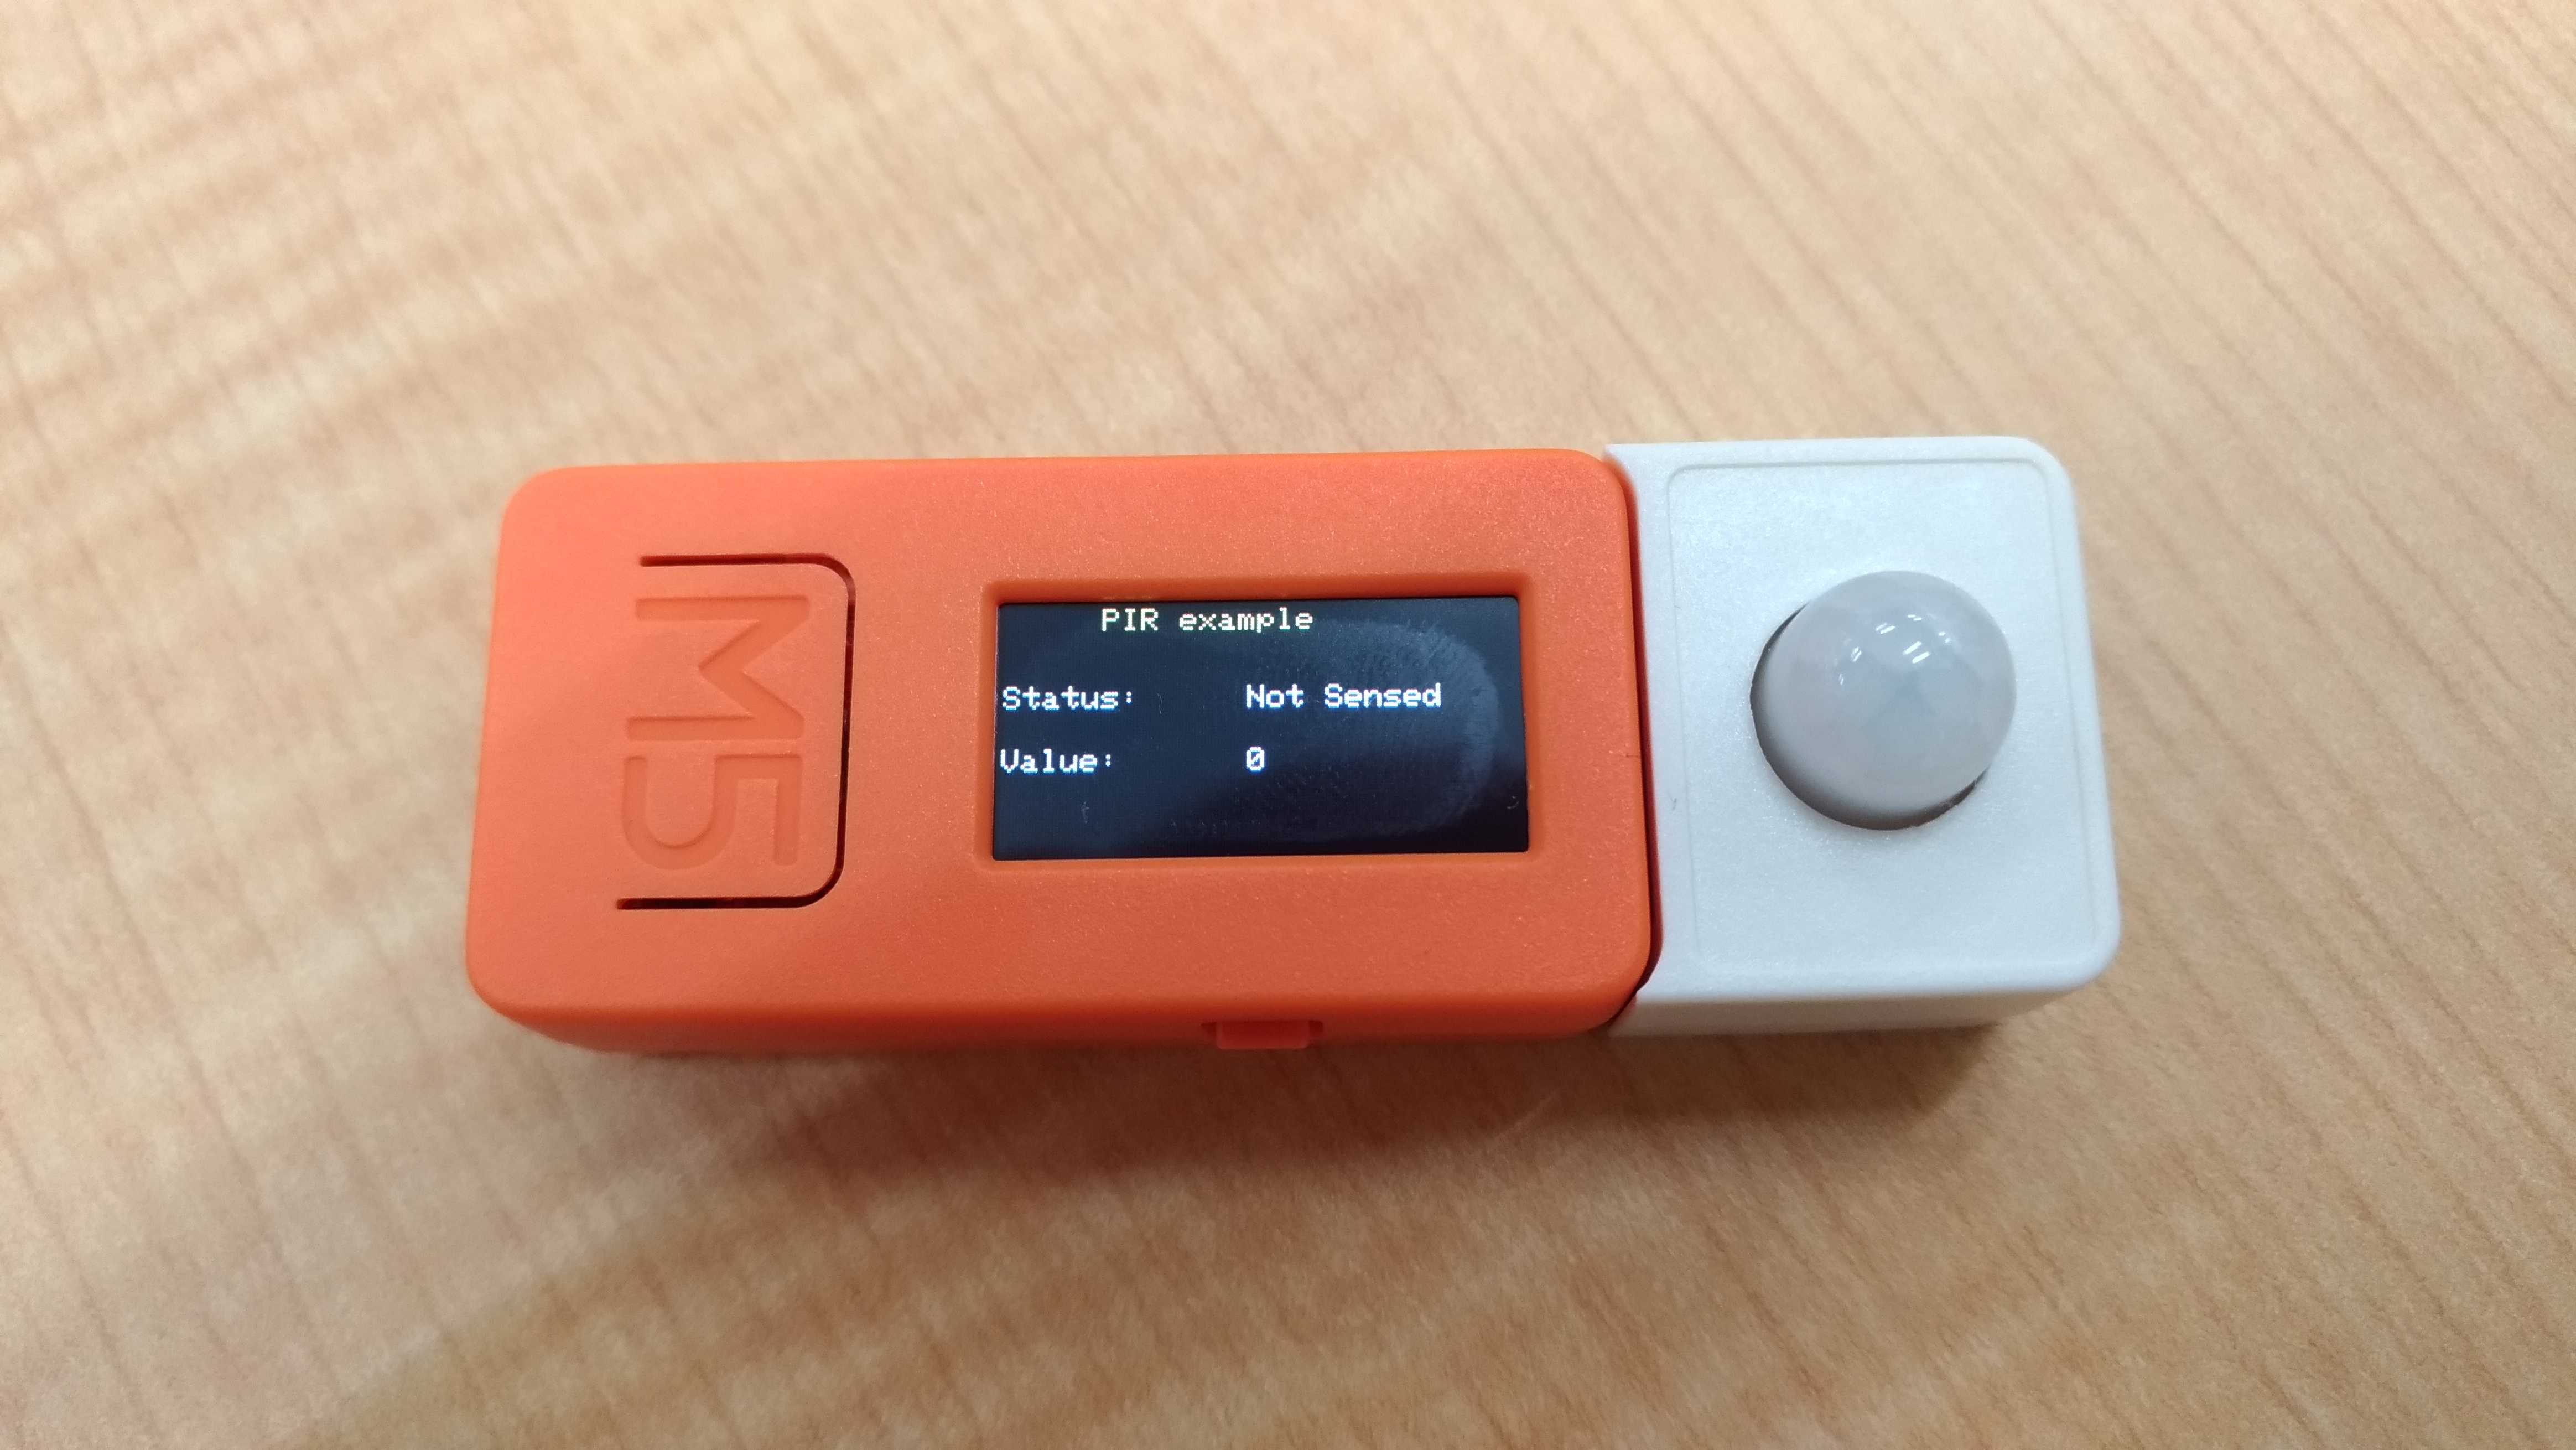
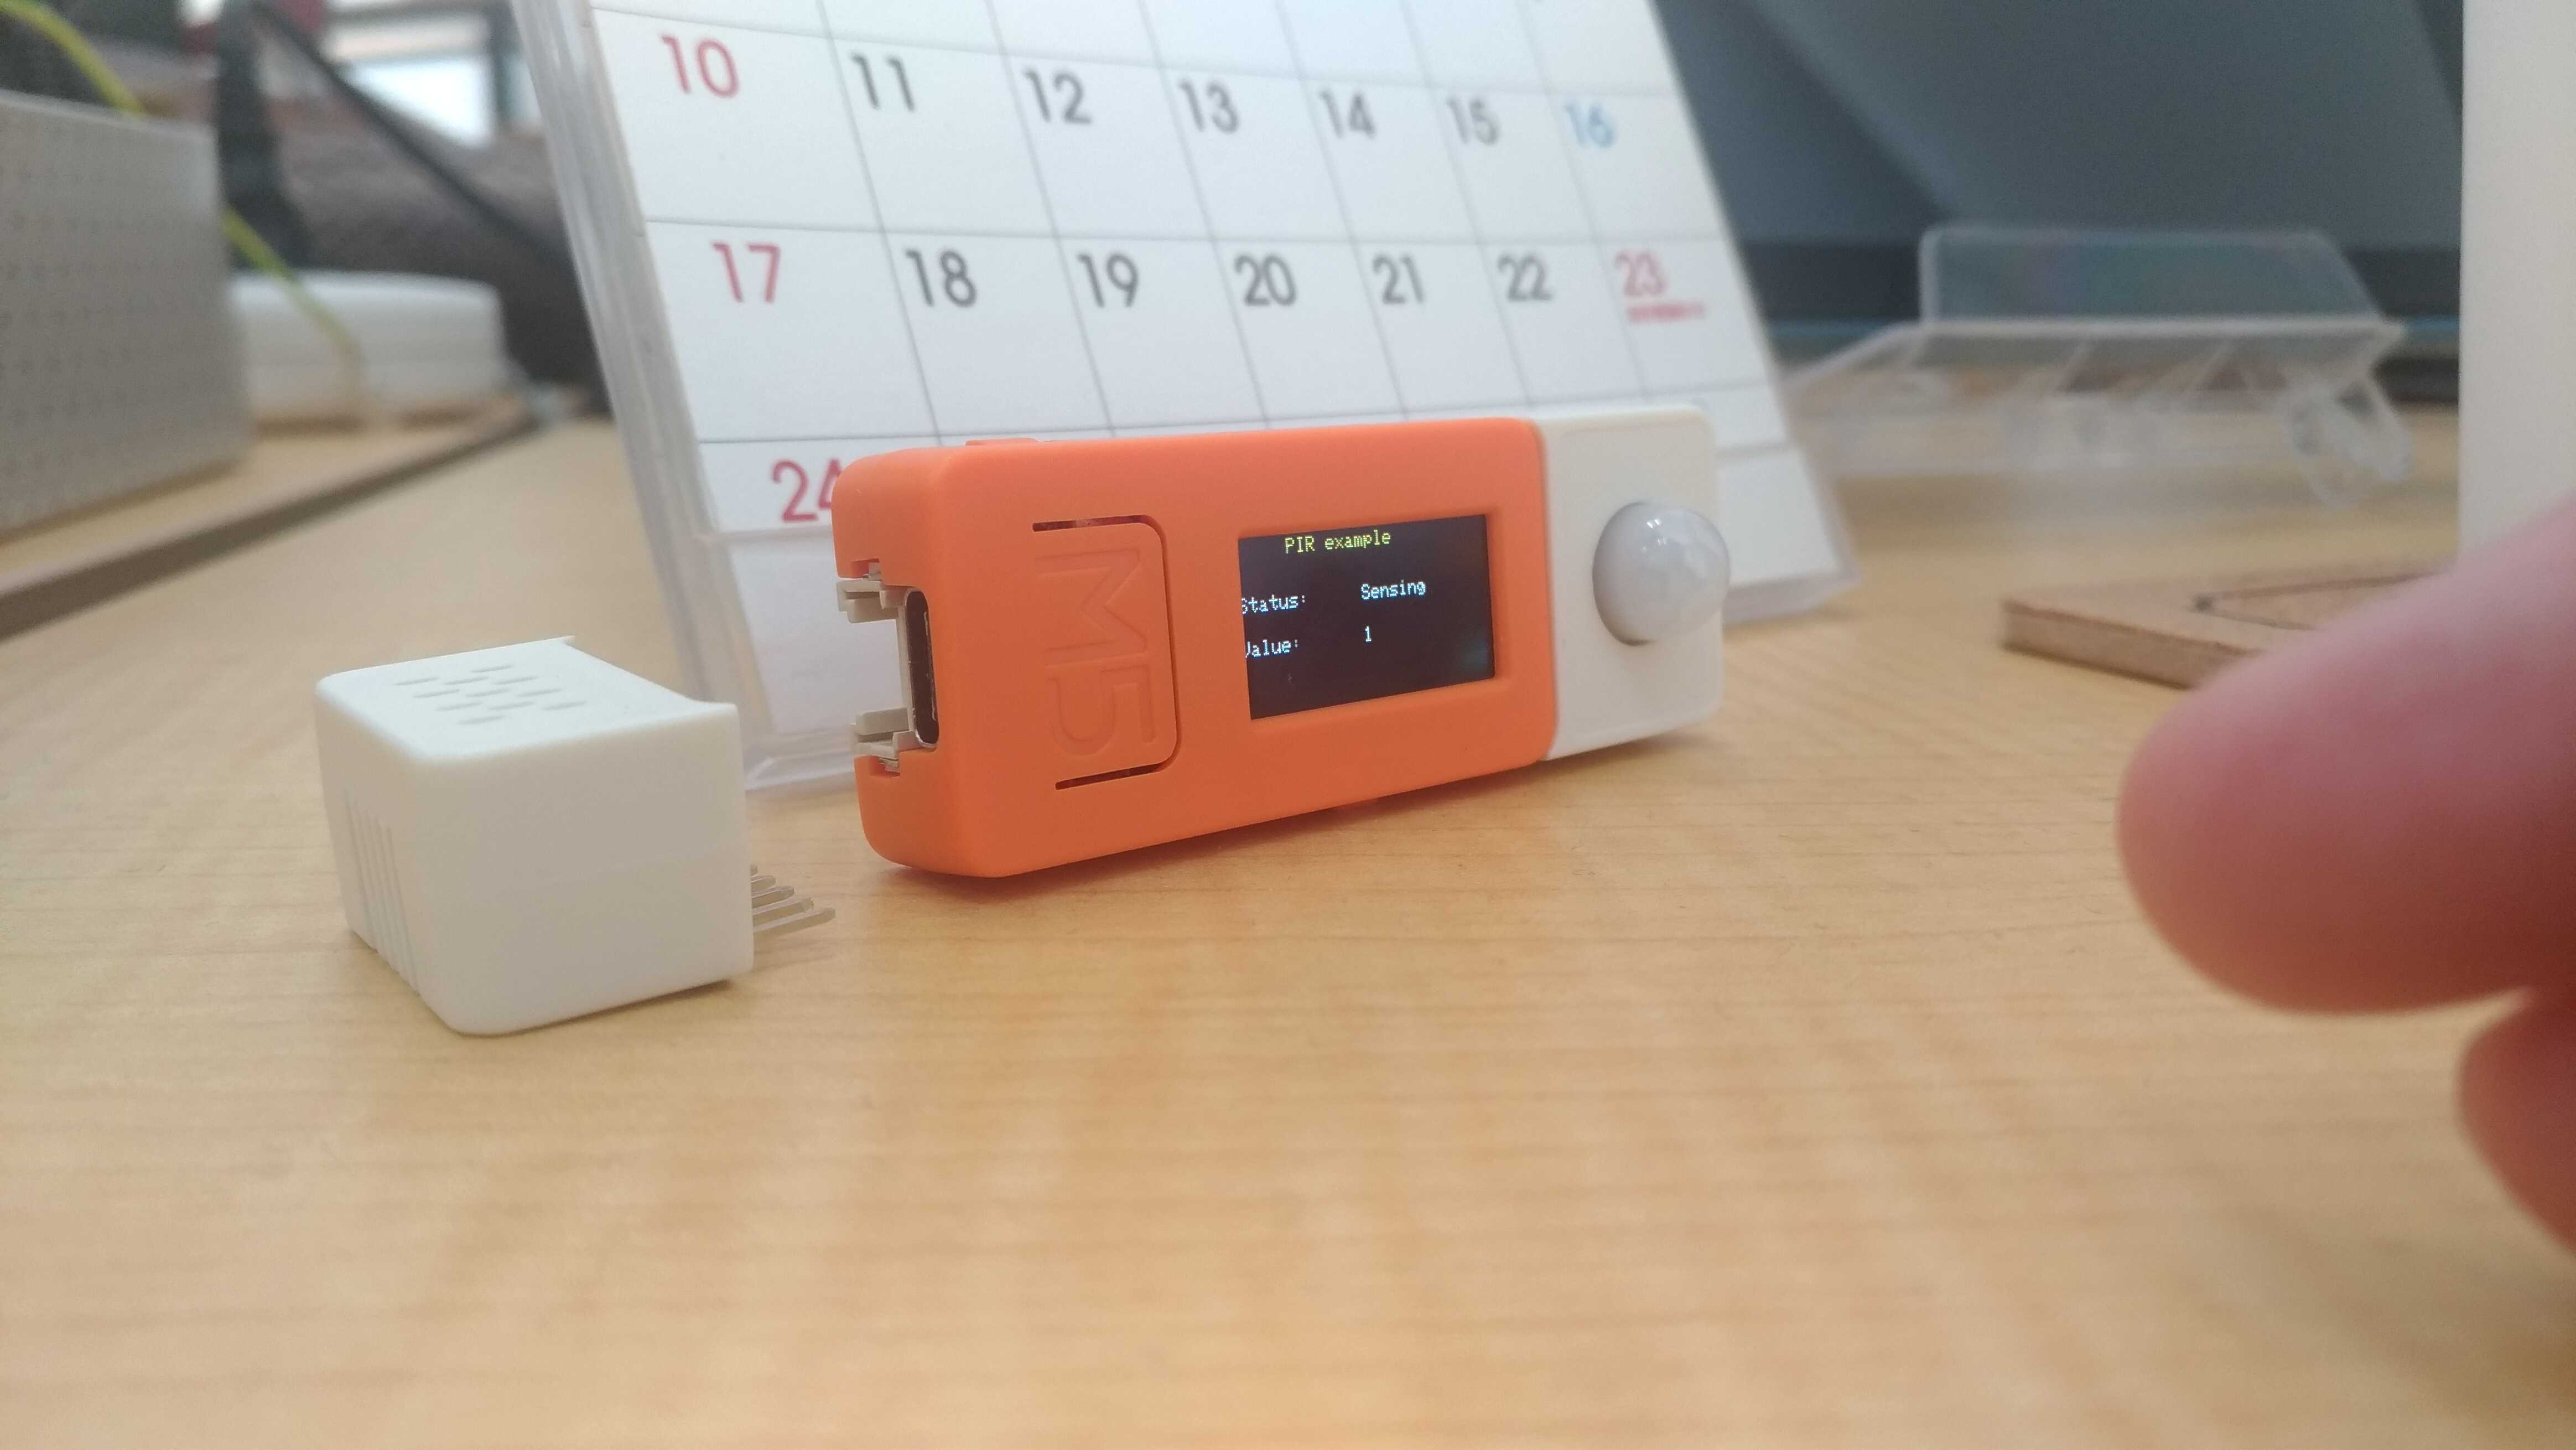
無事動作しました。
非検知時

検知時

参考: https://github.com/m5stack/M5StickC/blob/master/examples/Hat/PIR/PIR.ino
まとめ
Arduino IDEのインストールに若干時間がかかるかもしれませんが、おおよそ5分でPIR Hatを動かすことに成功しました。
M5StickCを使うとIoTシステムの開発が捗りそうなので、これからどんどん活用したいと思います。
Related Posts
yukabeoka
2021/12/08
yukabeoka
2021/12/08
Yuhei Okazaki
2021/10/27
